

Sprockets
-
Wear-resistant sprockets (OEM quality)
Advanced metallurgical processes ensure excellent quality -
Undercarriages for machines from 0.8t to 200t
Sprockets with pitches ranging from 72mm to 317.5mm -
Sprockets and segment groups for earthmoving machinery
For various brands: Kubota, Caterpillar, Komatsu... -
Proven high customer satisfaction and first-class advice
4,7 Star reviews on Google

Sprockets
To drive your machine’s undercarriage, check out our quality sprockets. Manufactured with high-quality materials, our sprockets are designed to withstand the toughest conditions. Our supply range covers machines with tonnages from 0.8 ton to 300 ton. For applications such as bulldozers and tracked dumpers, we also supply the segment groups.
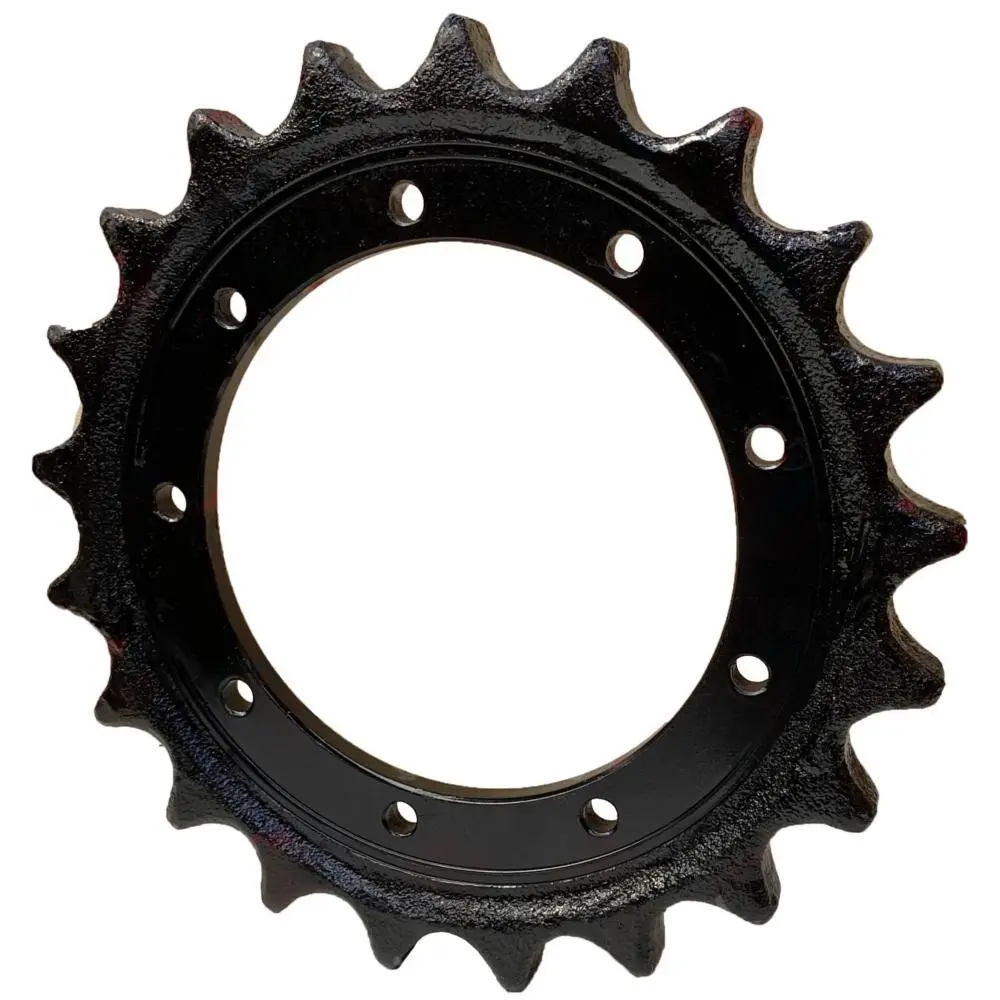
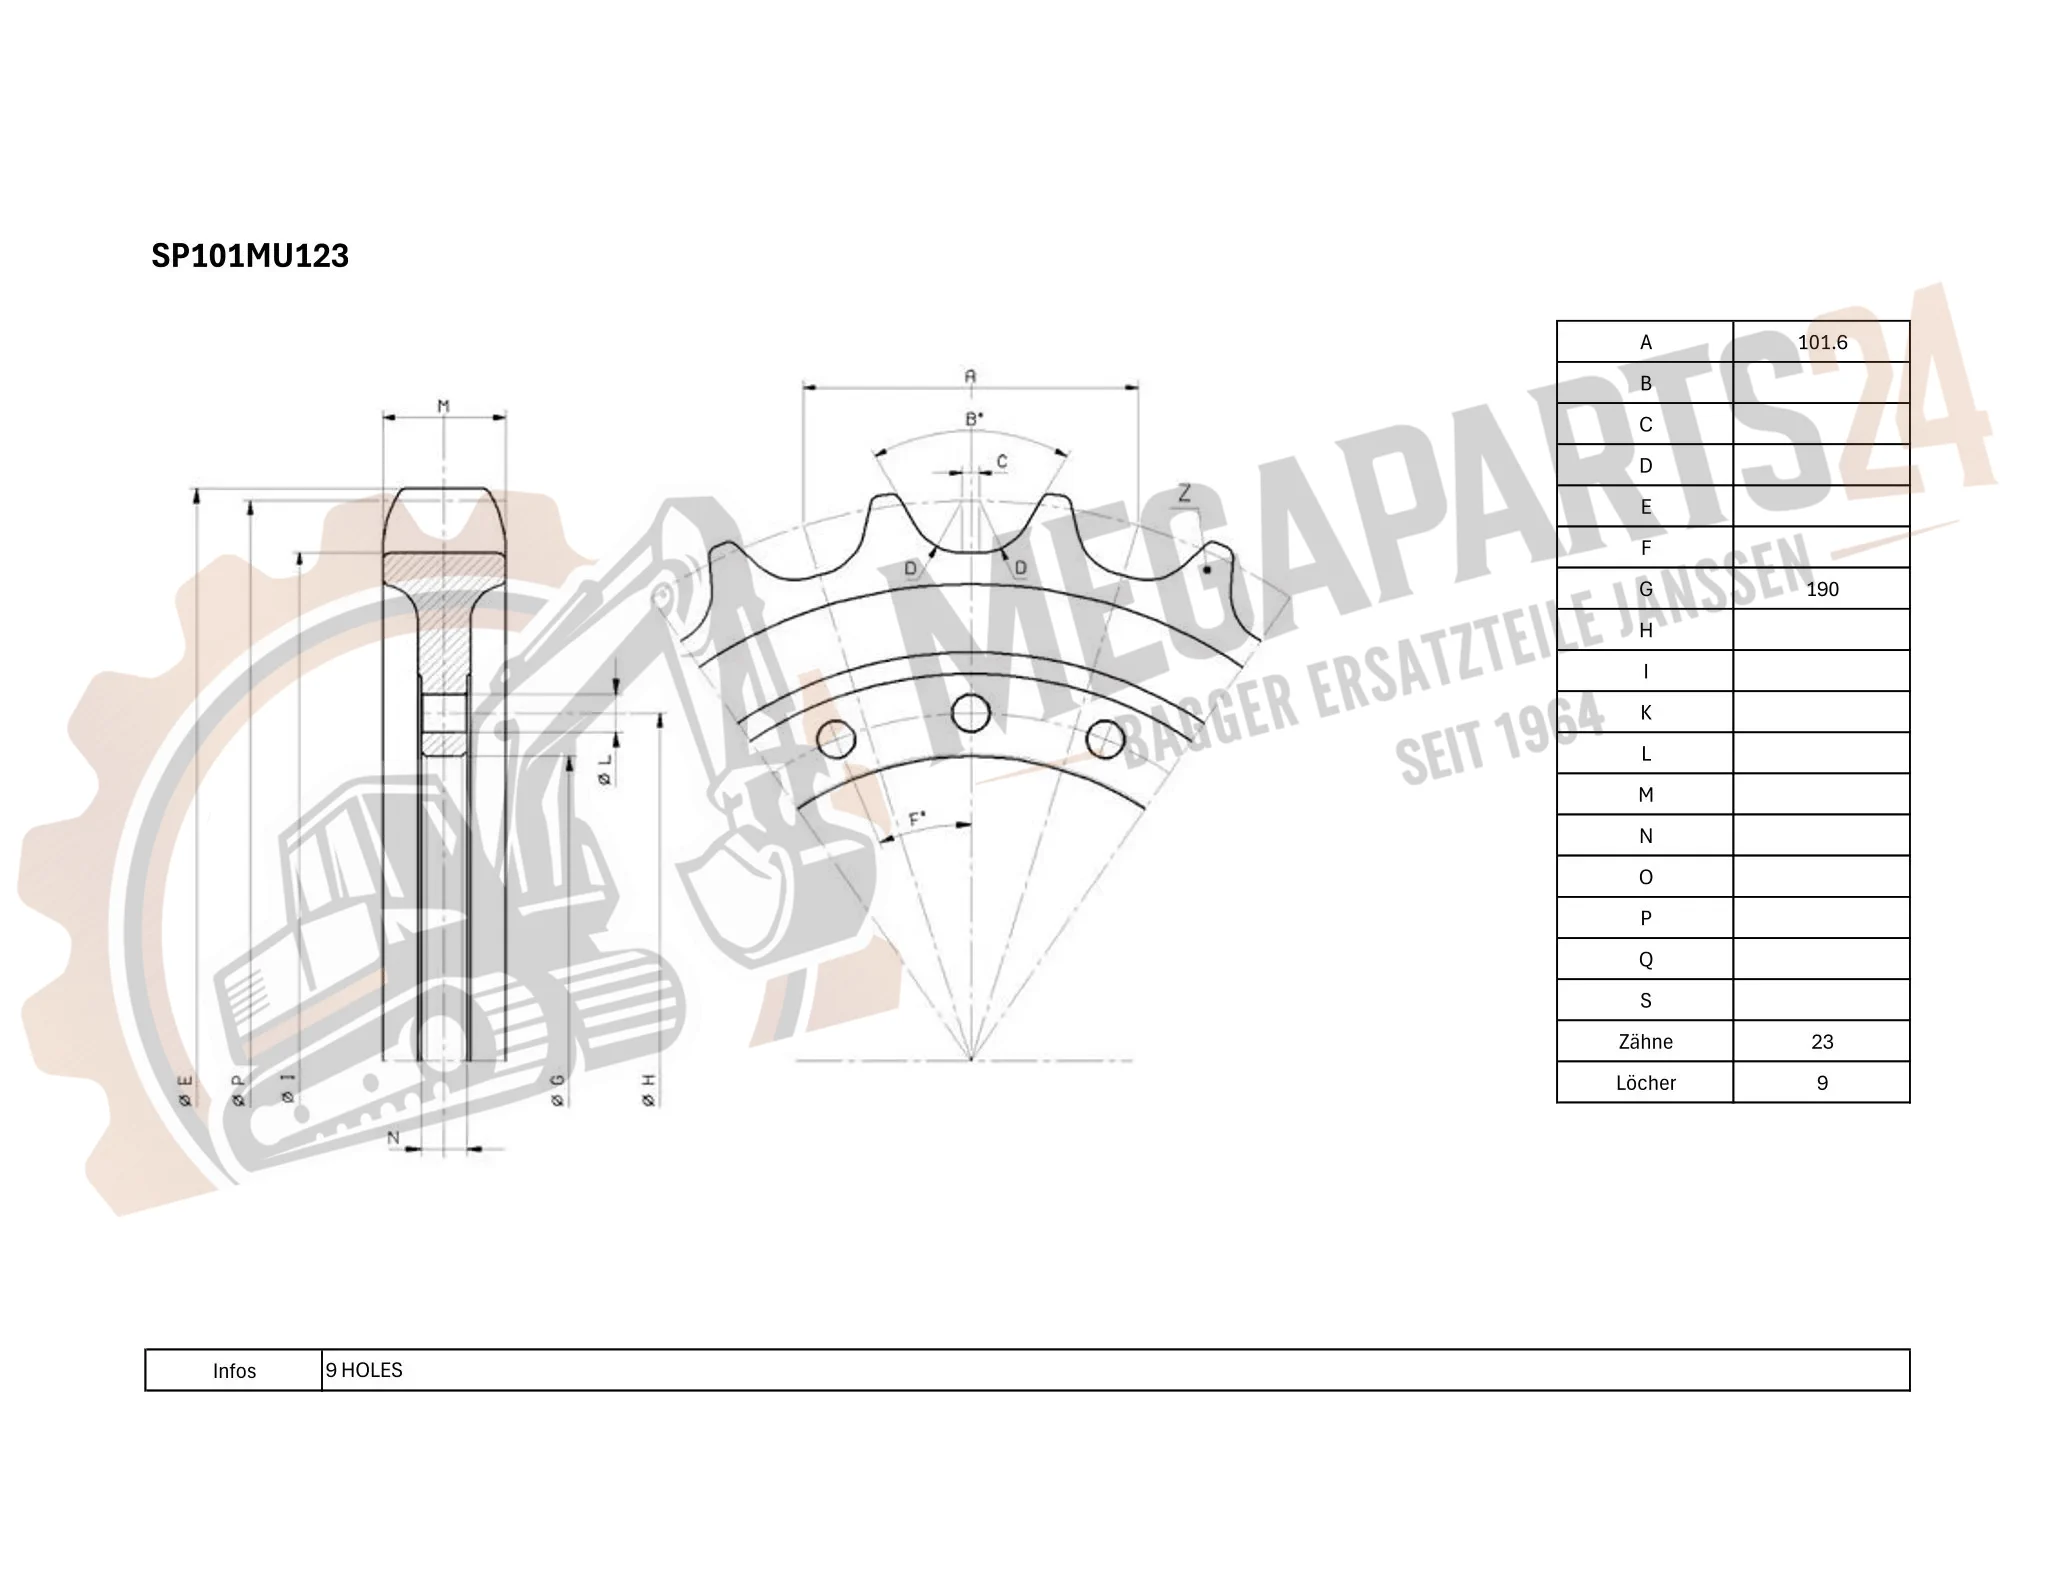
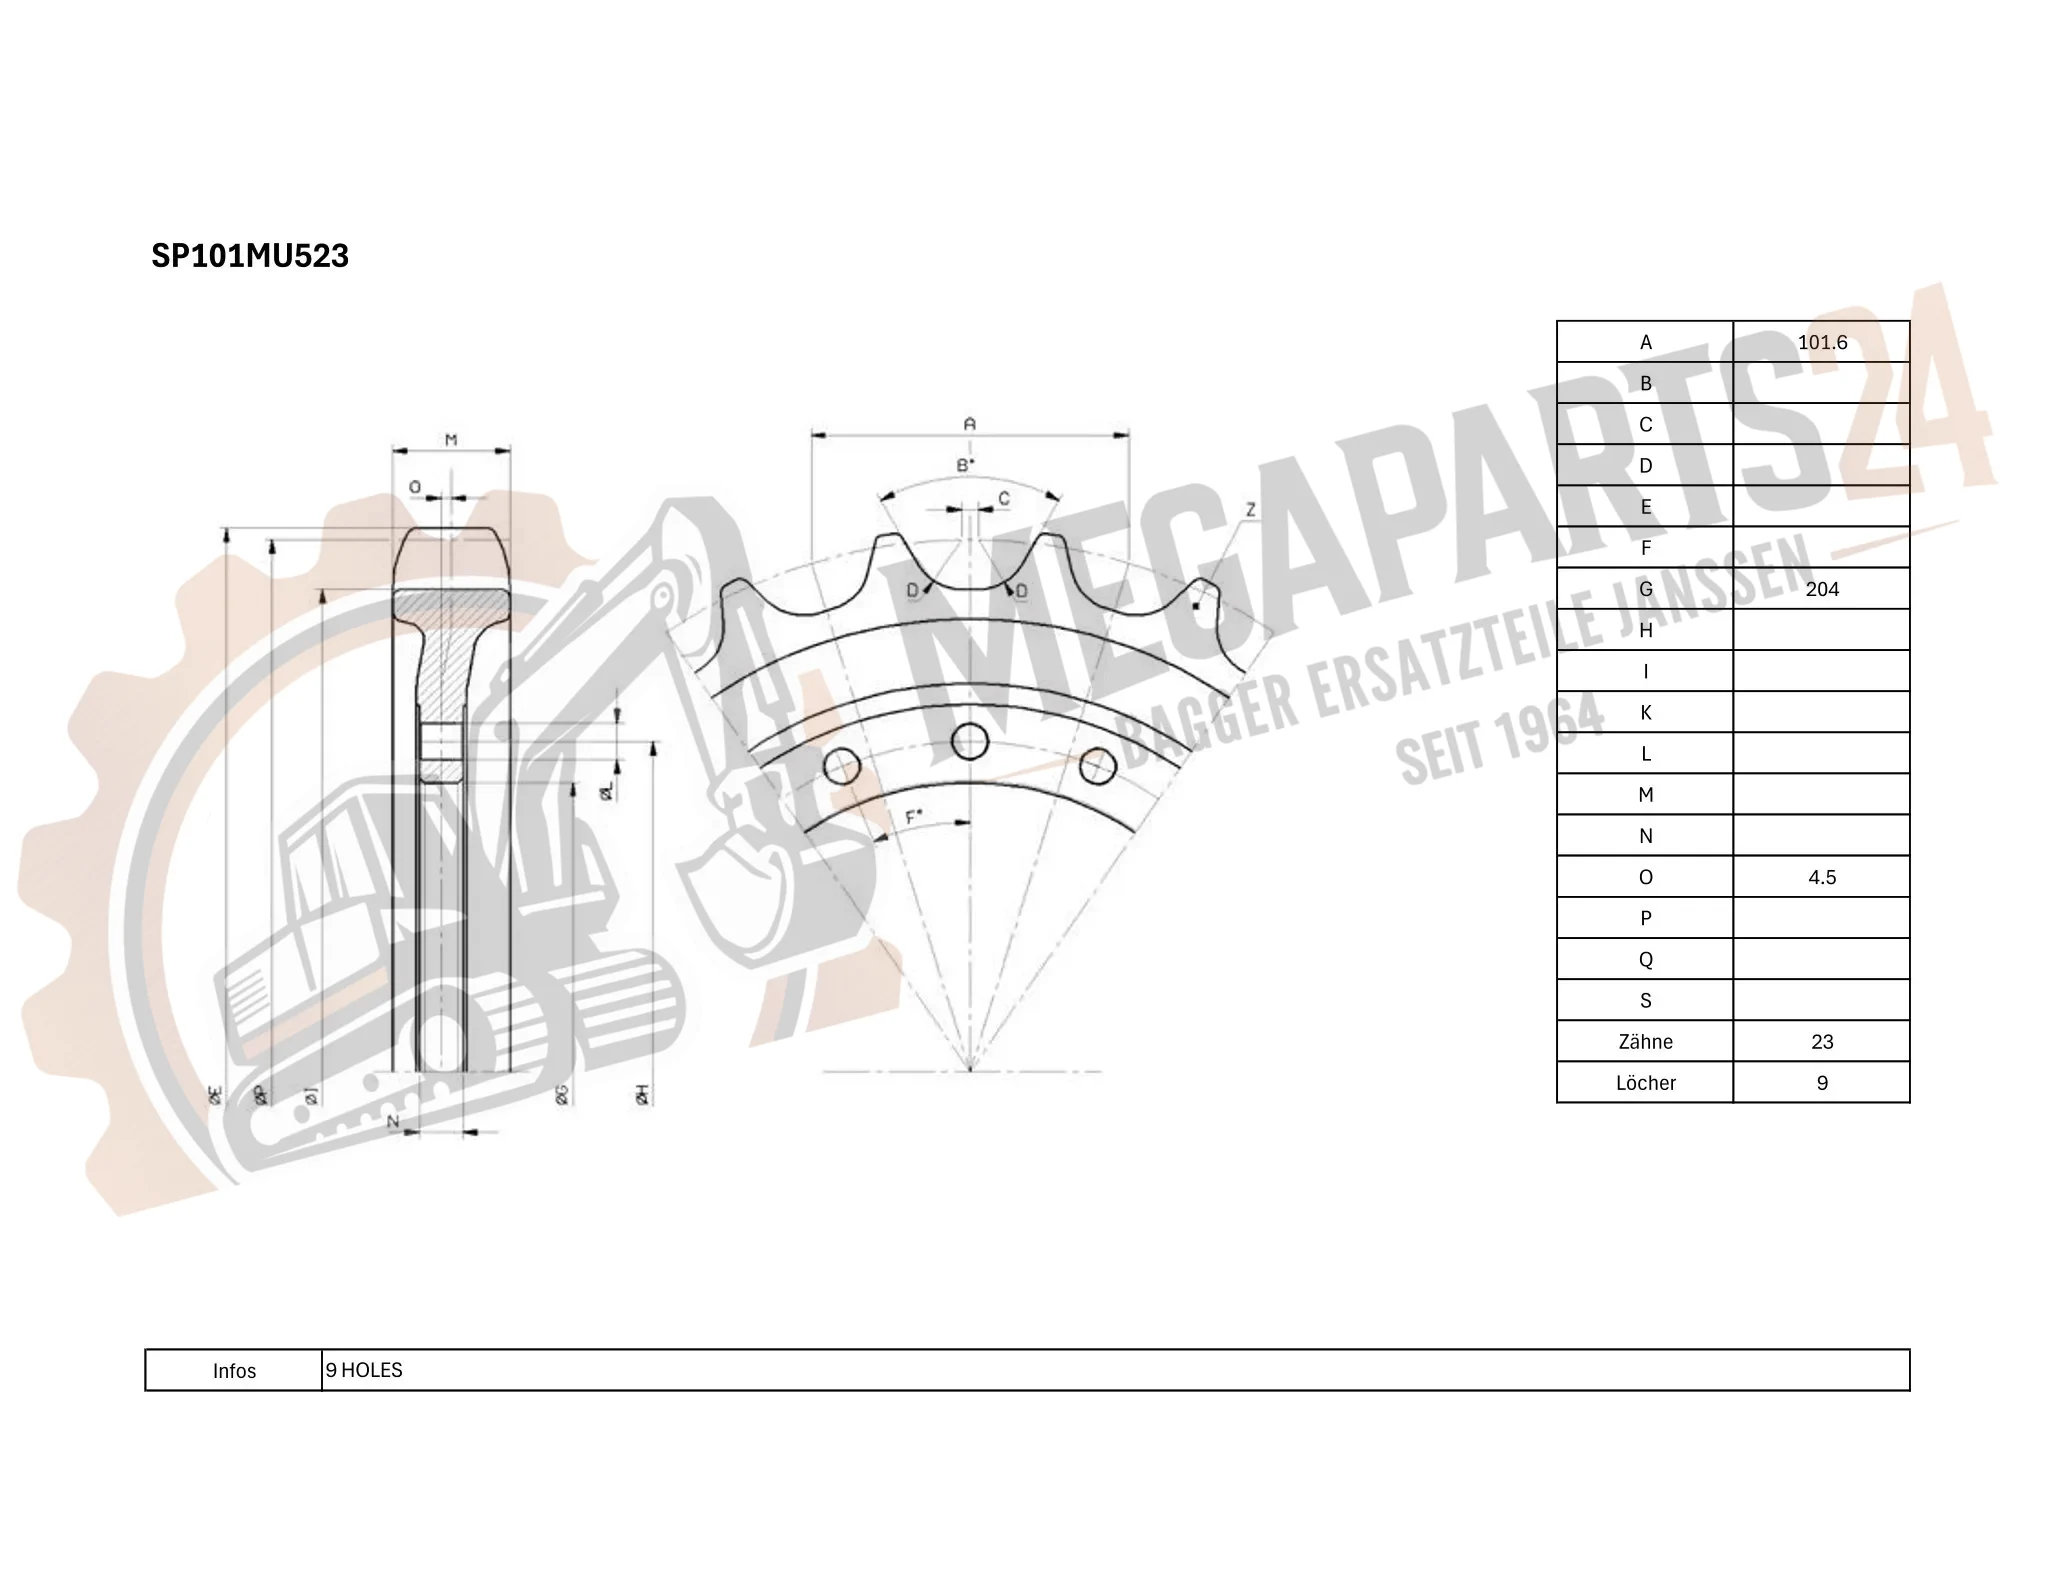
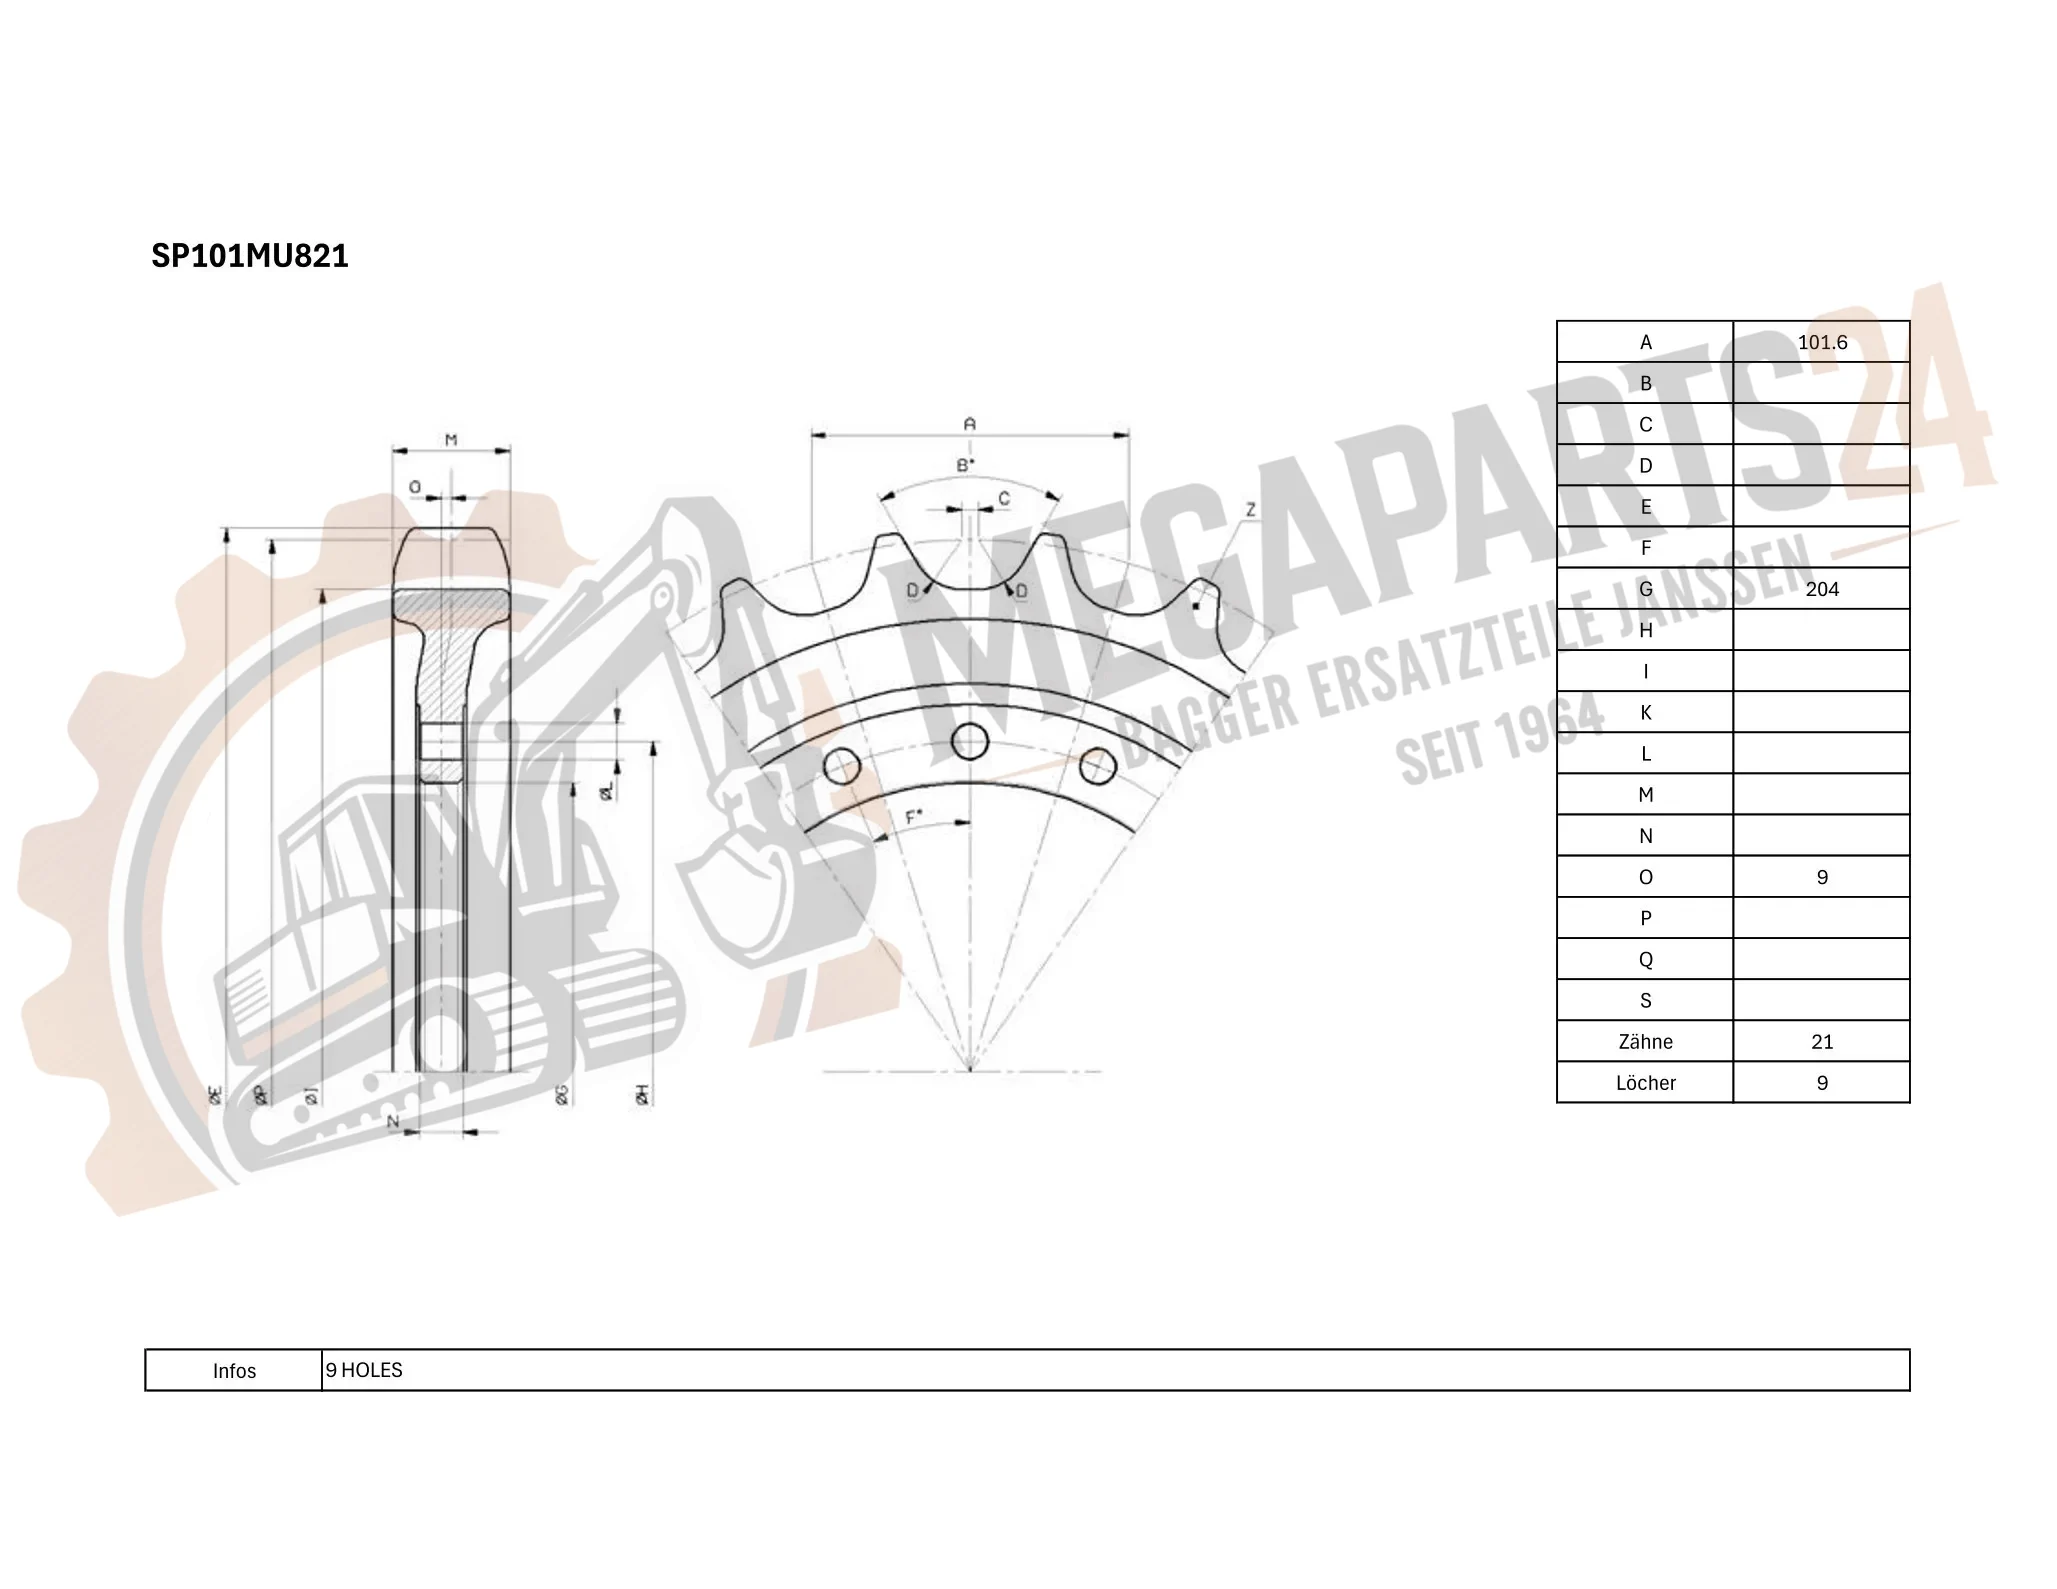
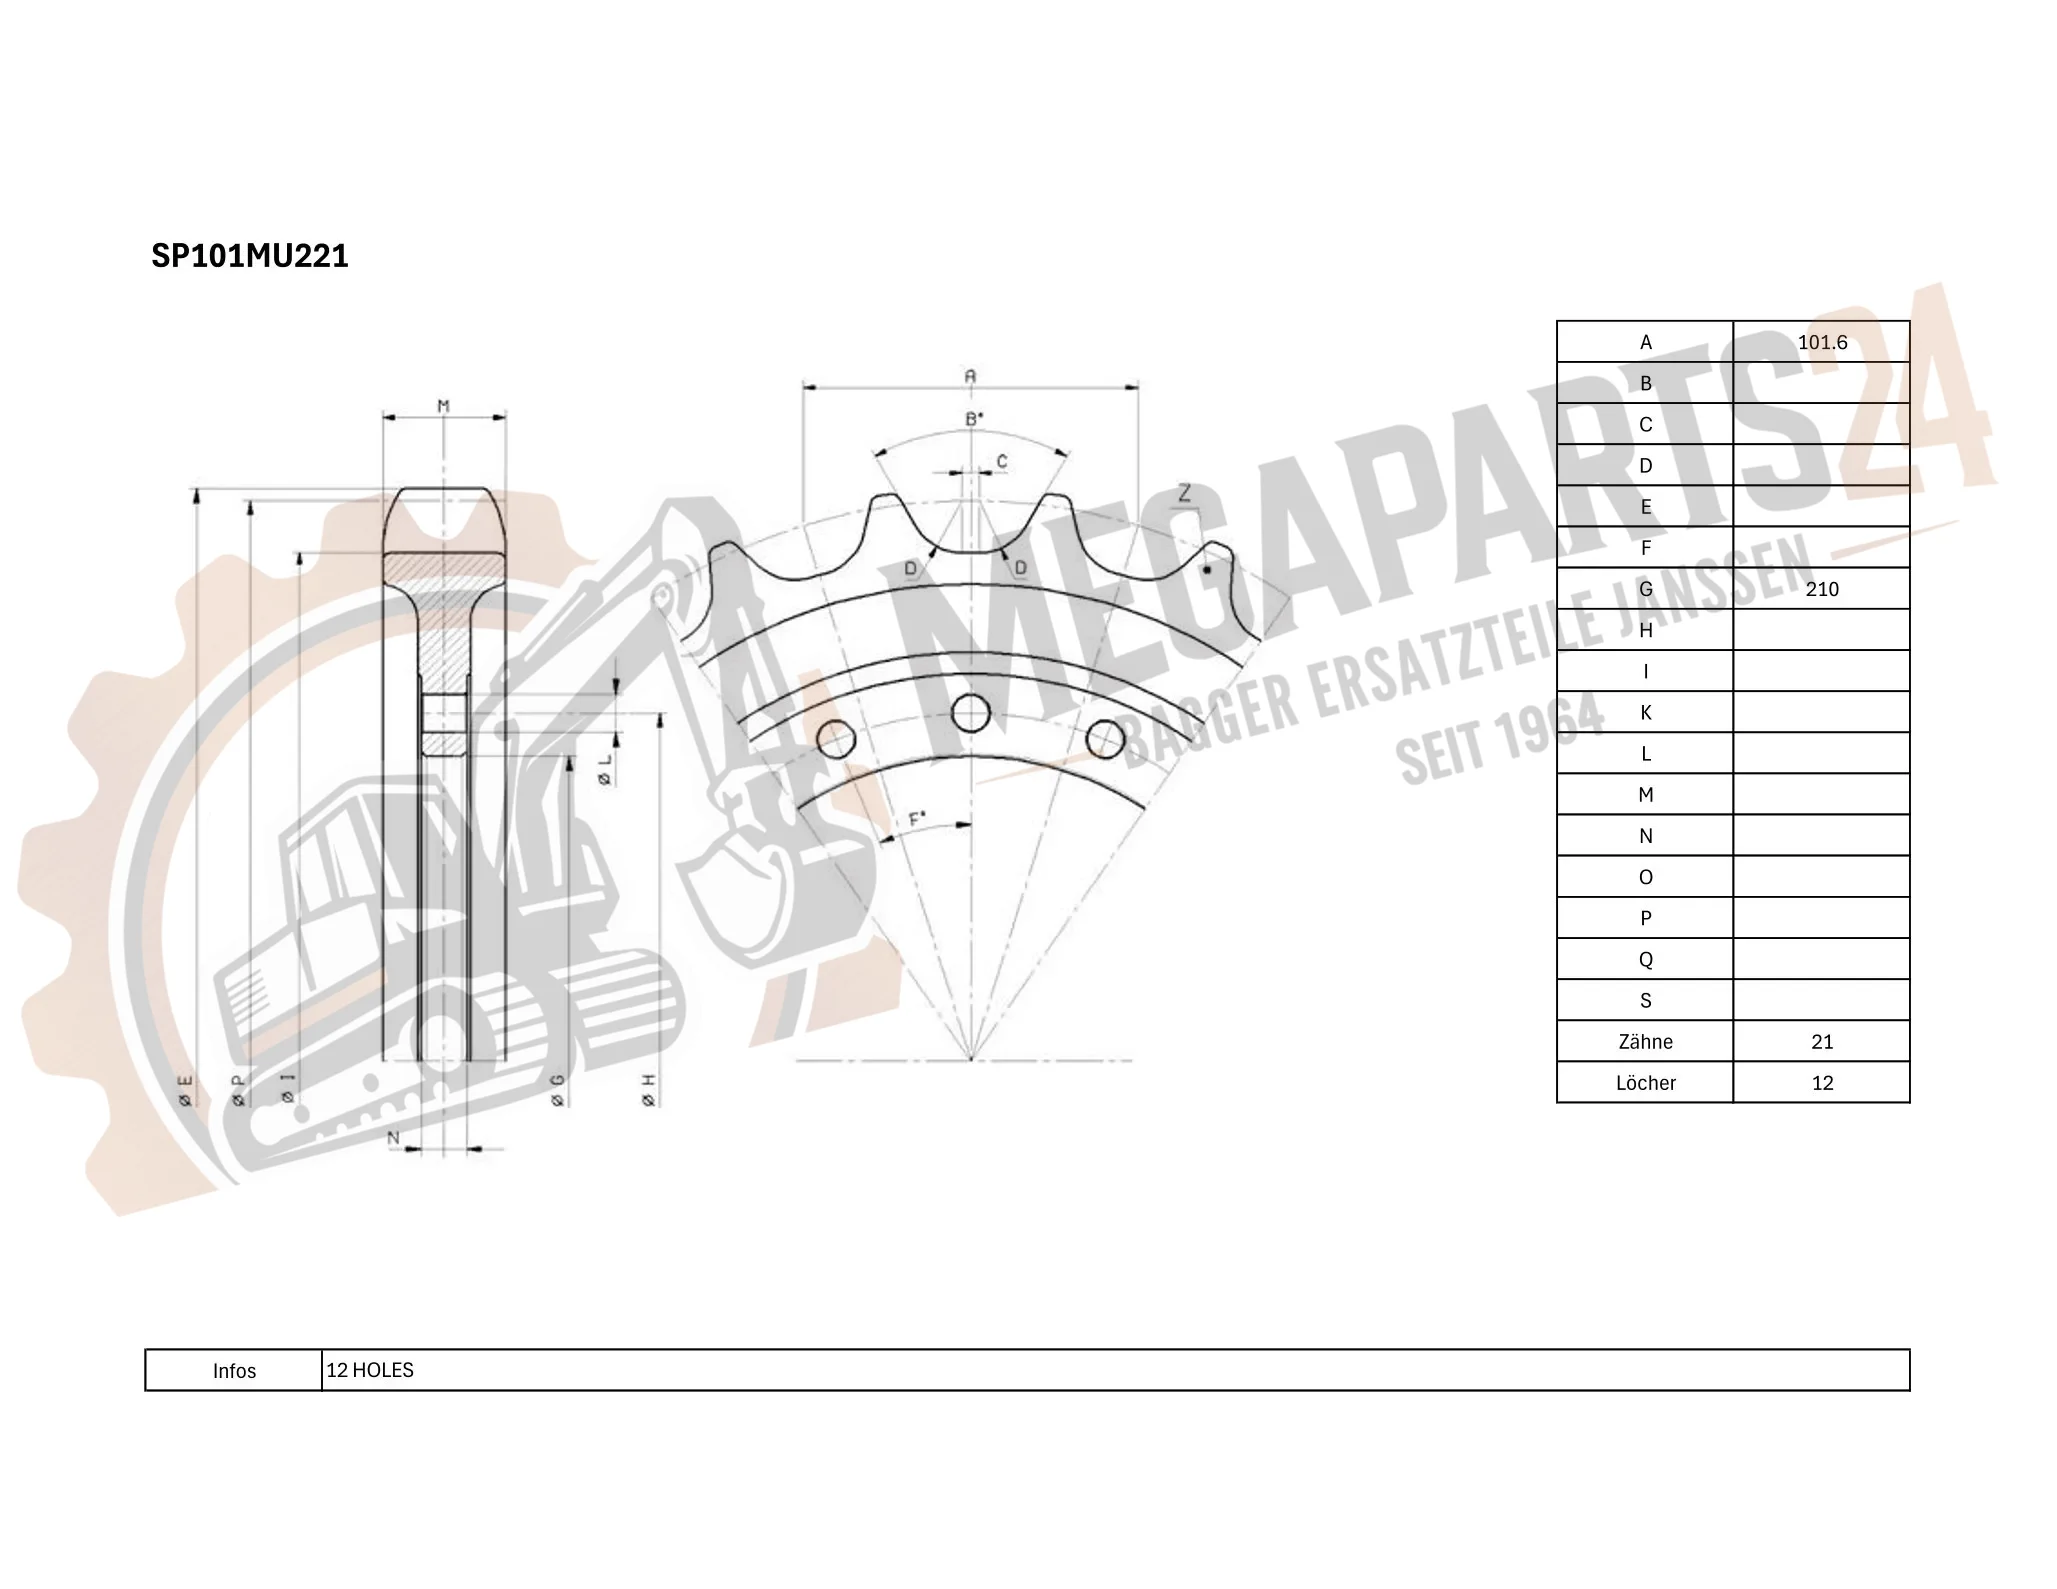
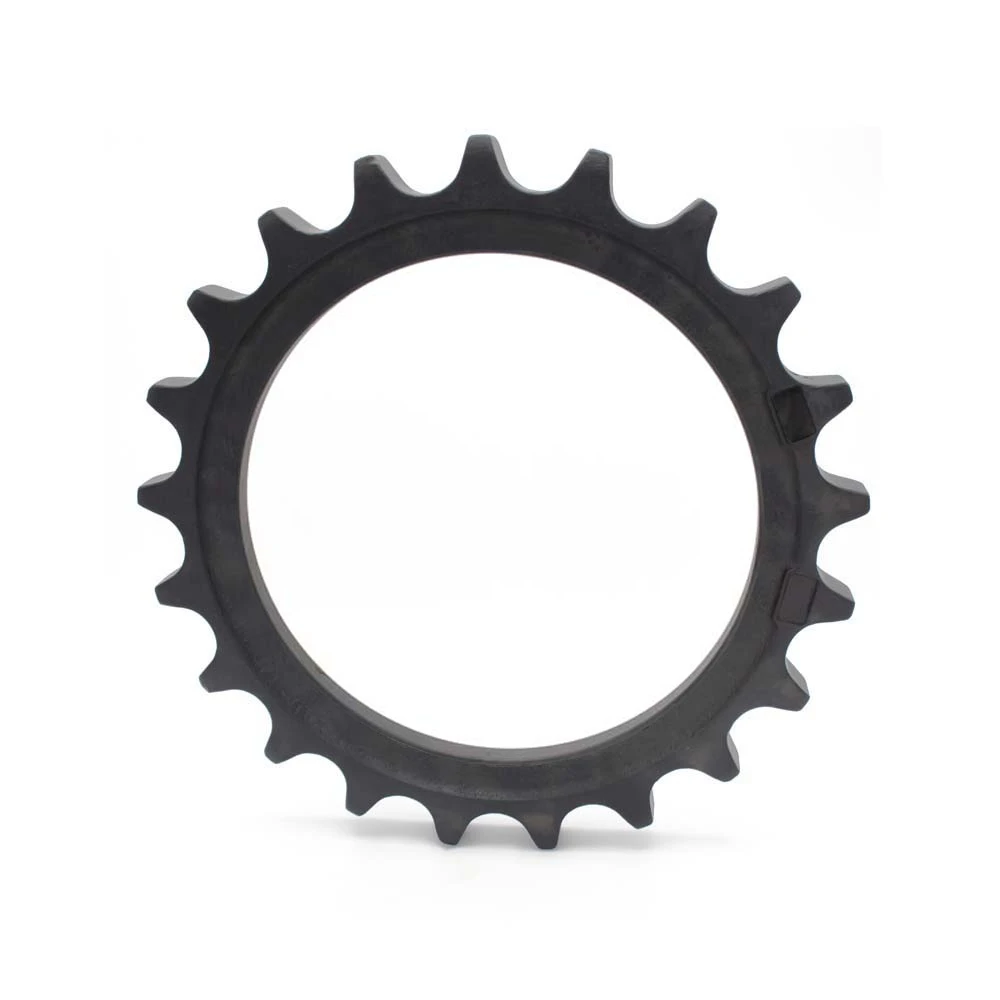
Only a selection is shown here. Enter the equipment model now and find the matching spare part
Note: to determine which spare part fits you always need the equipment model.
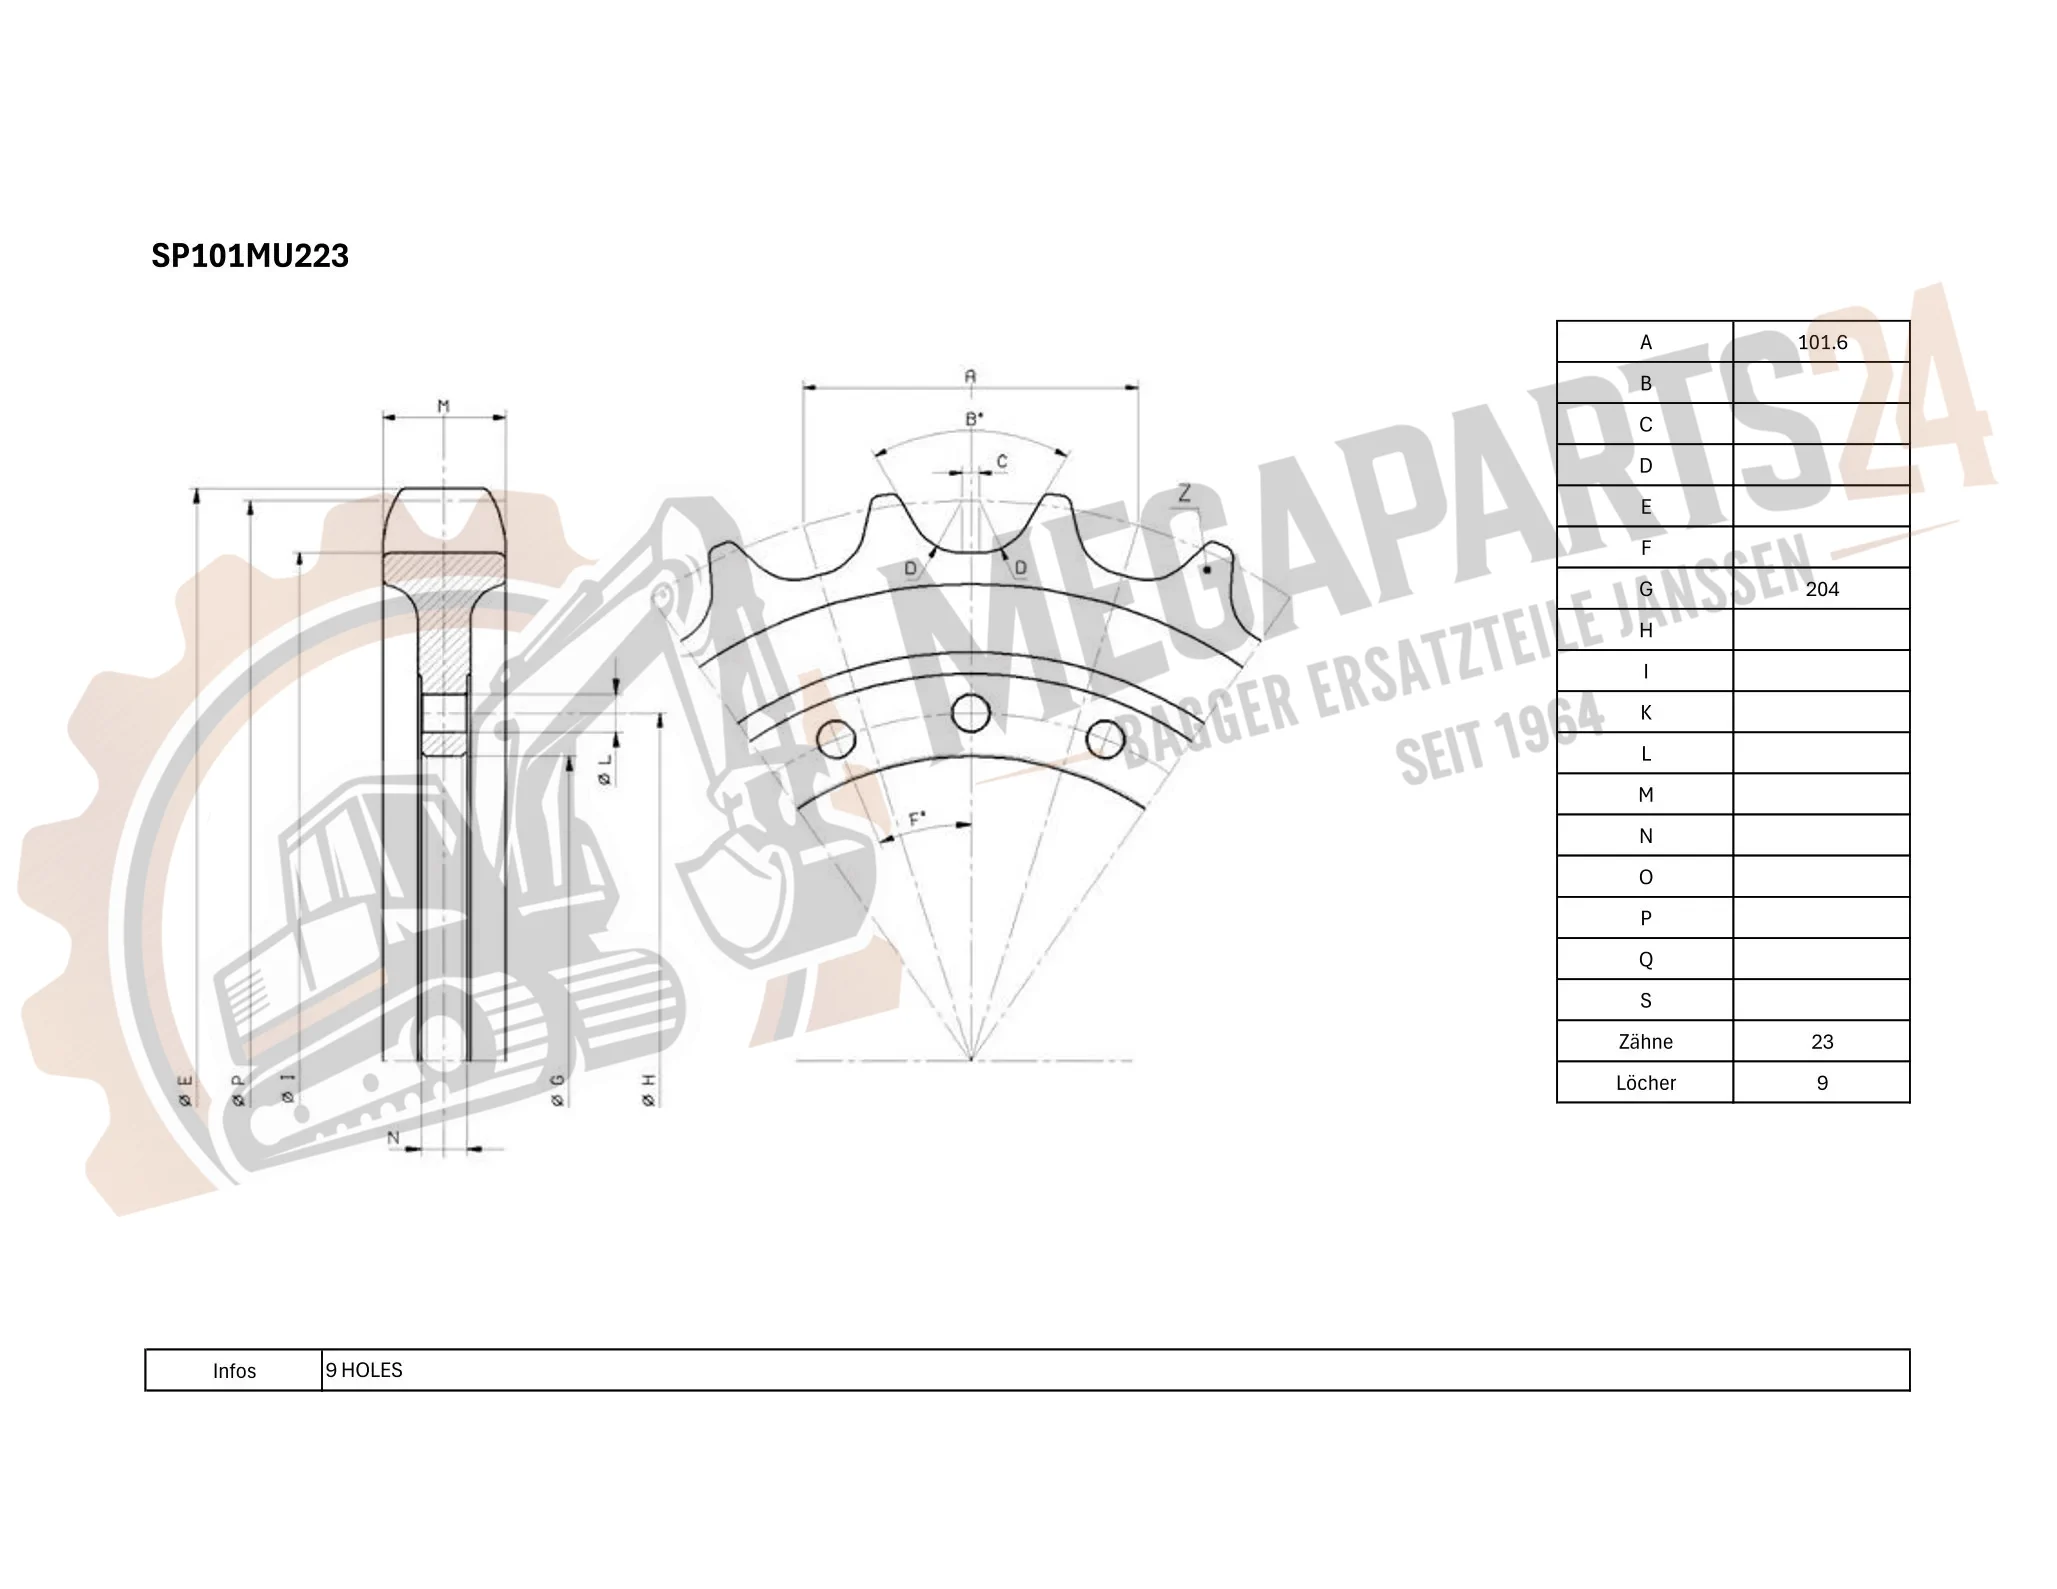
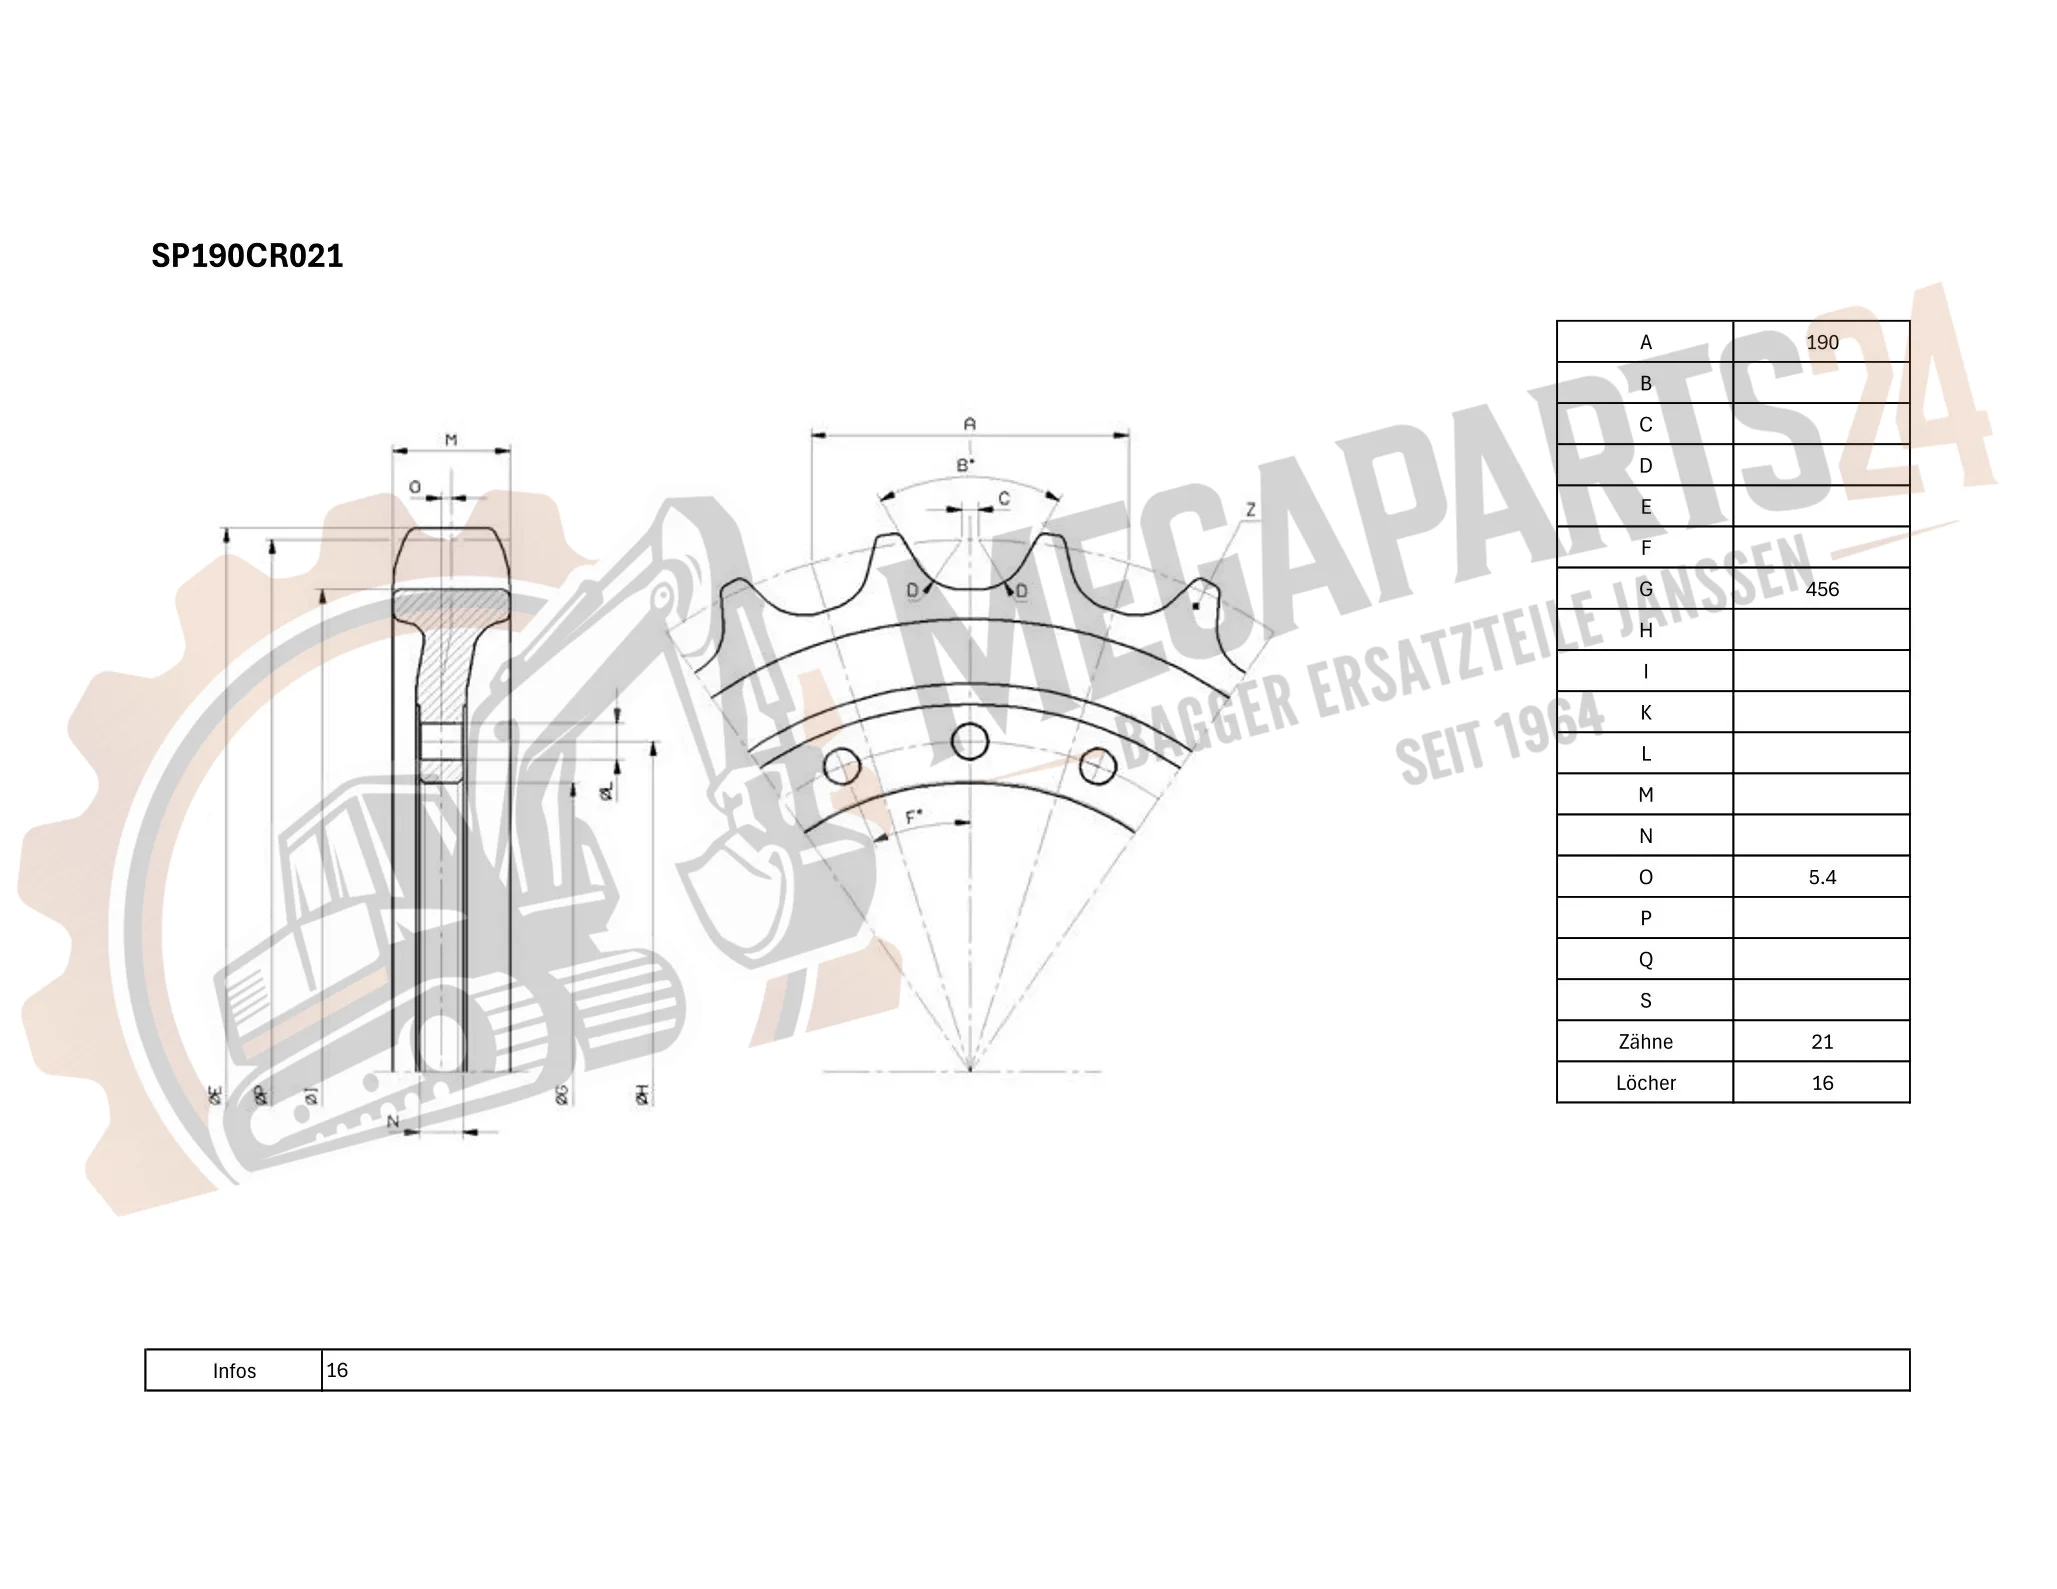
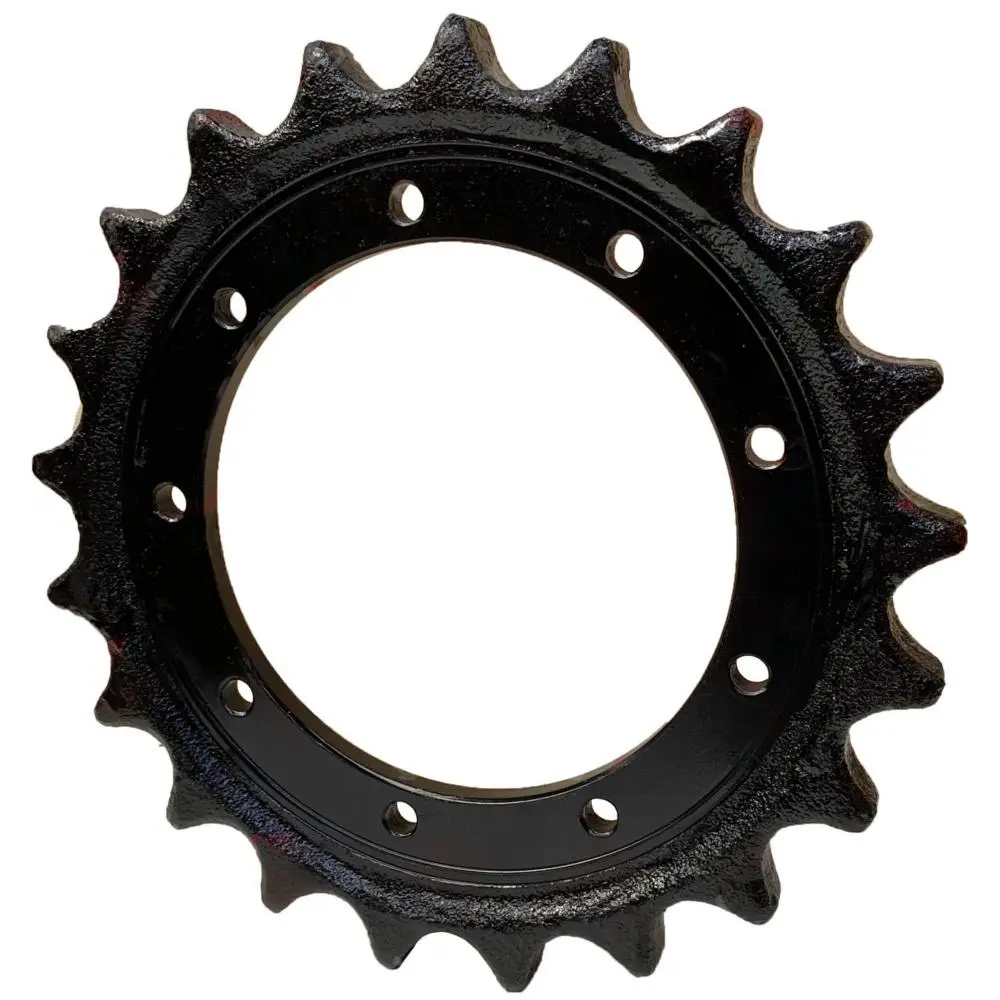
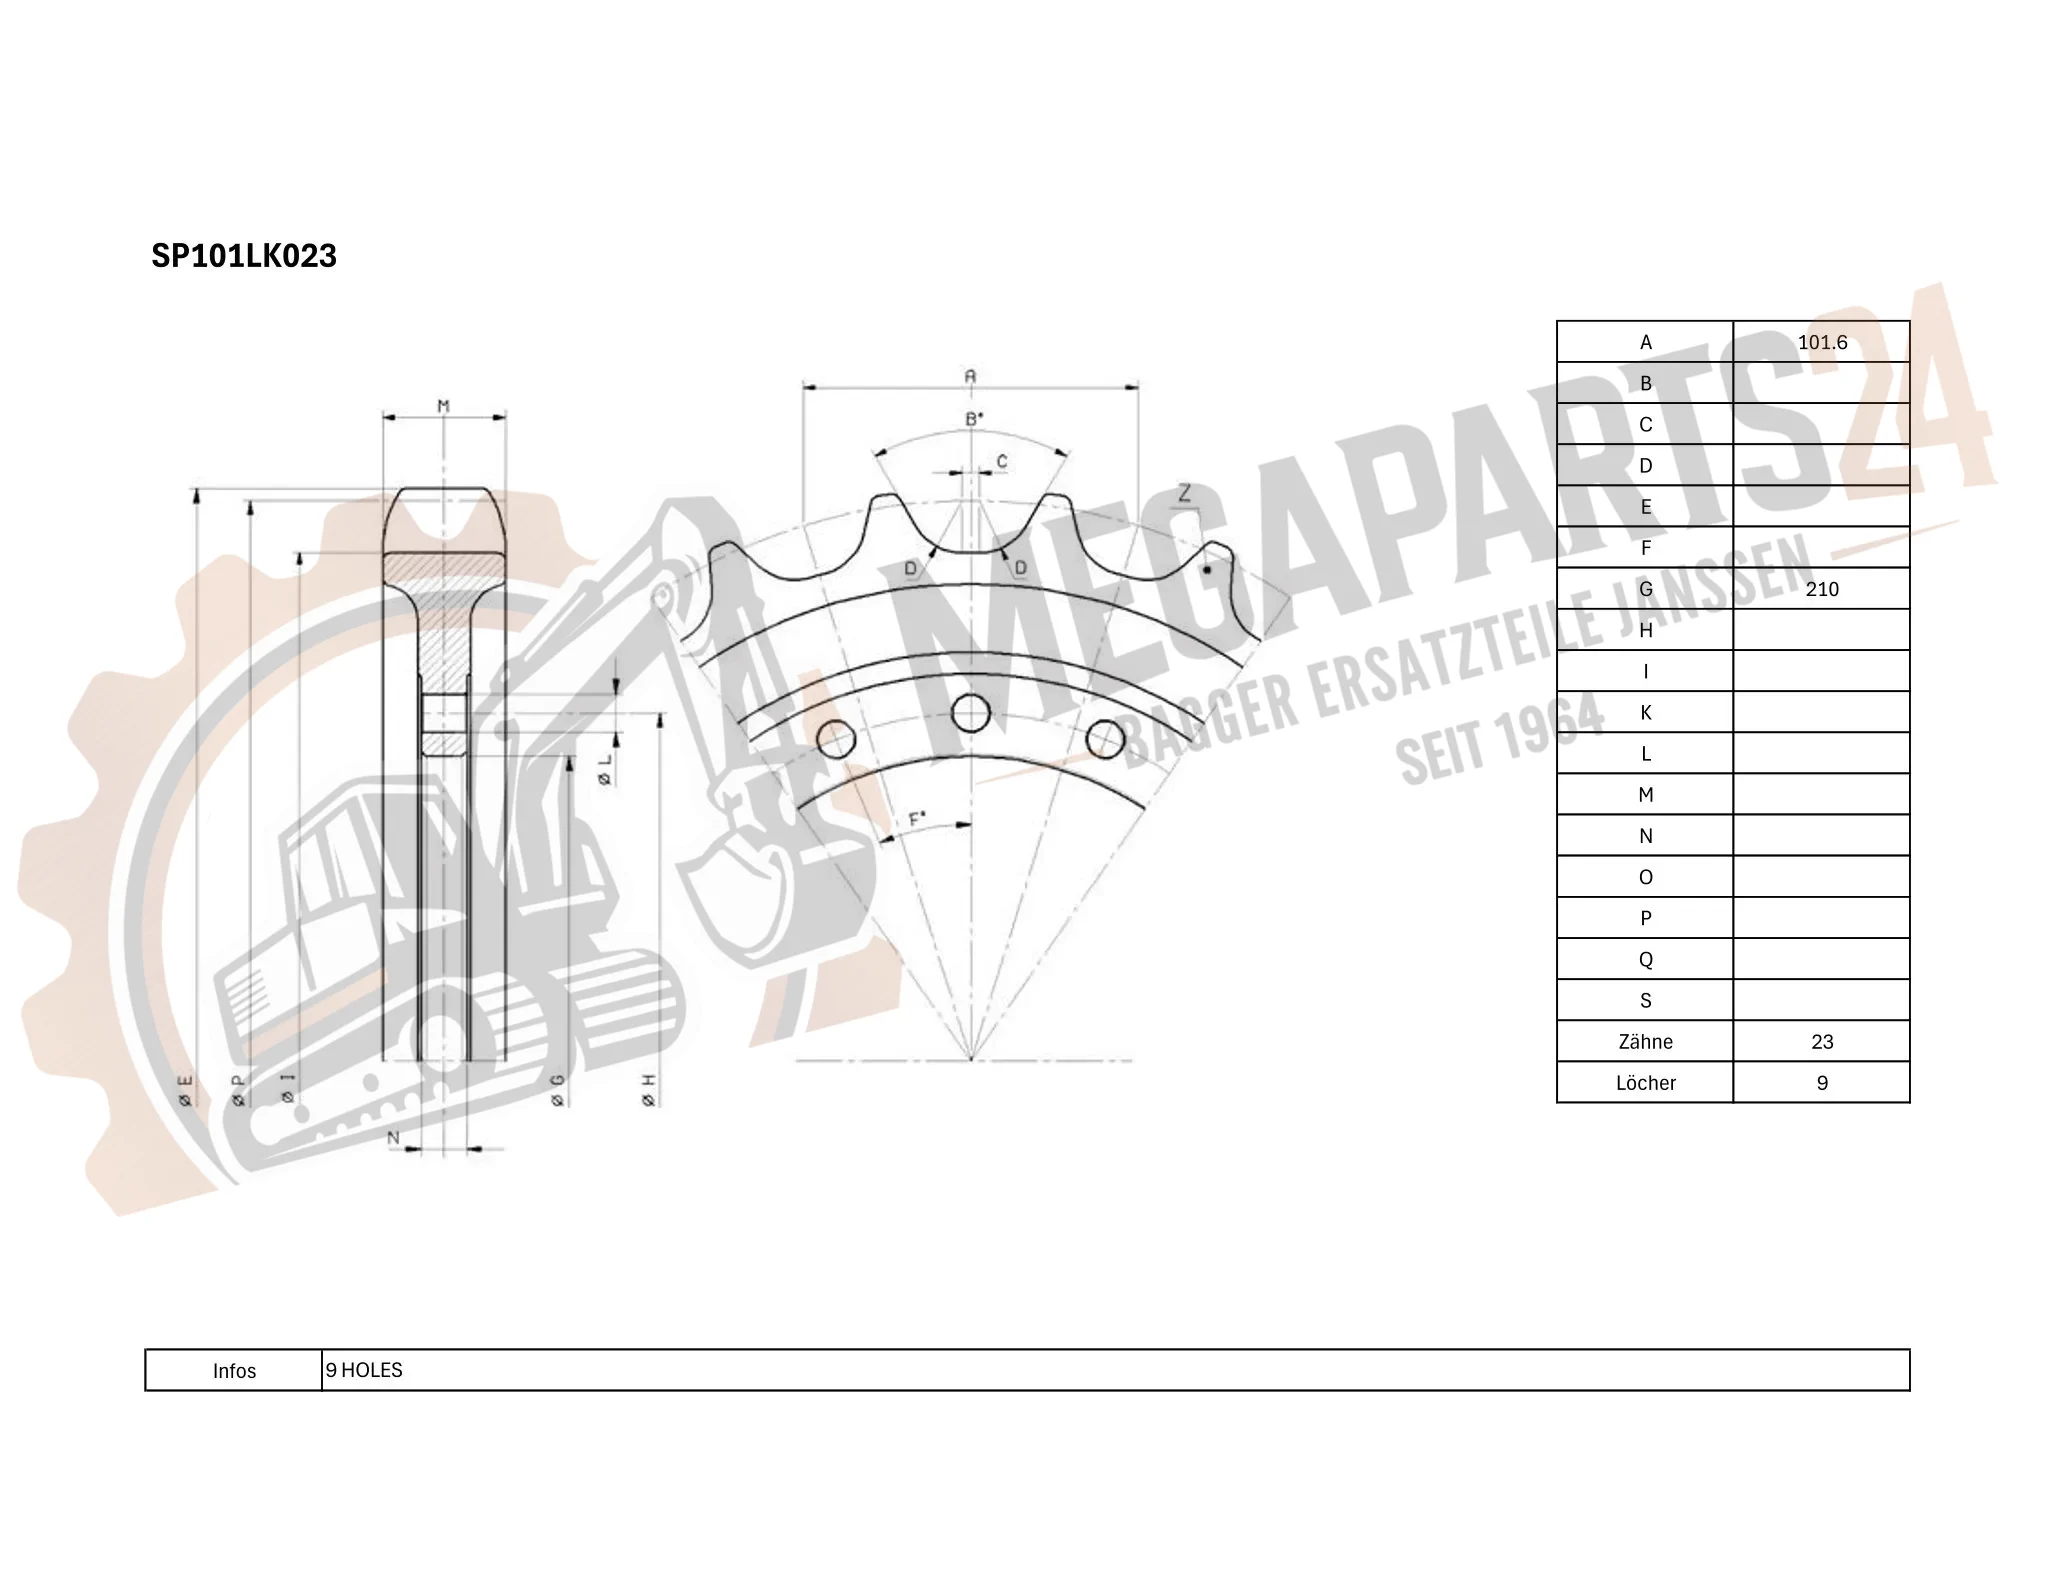
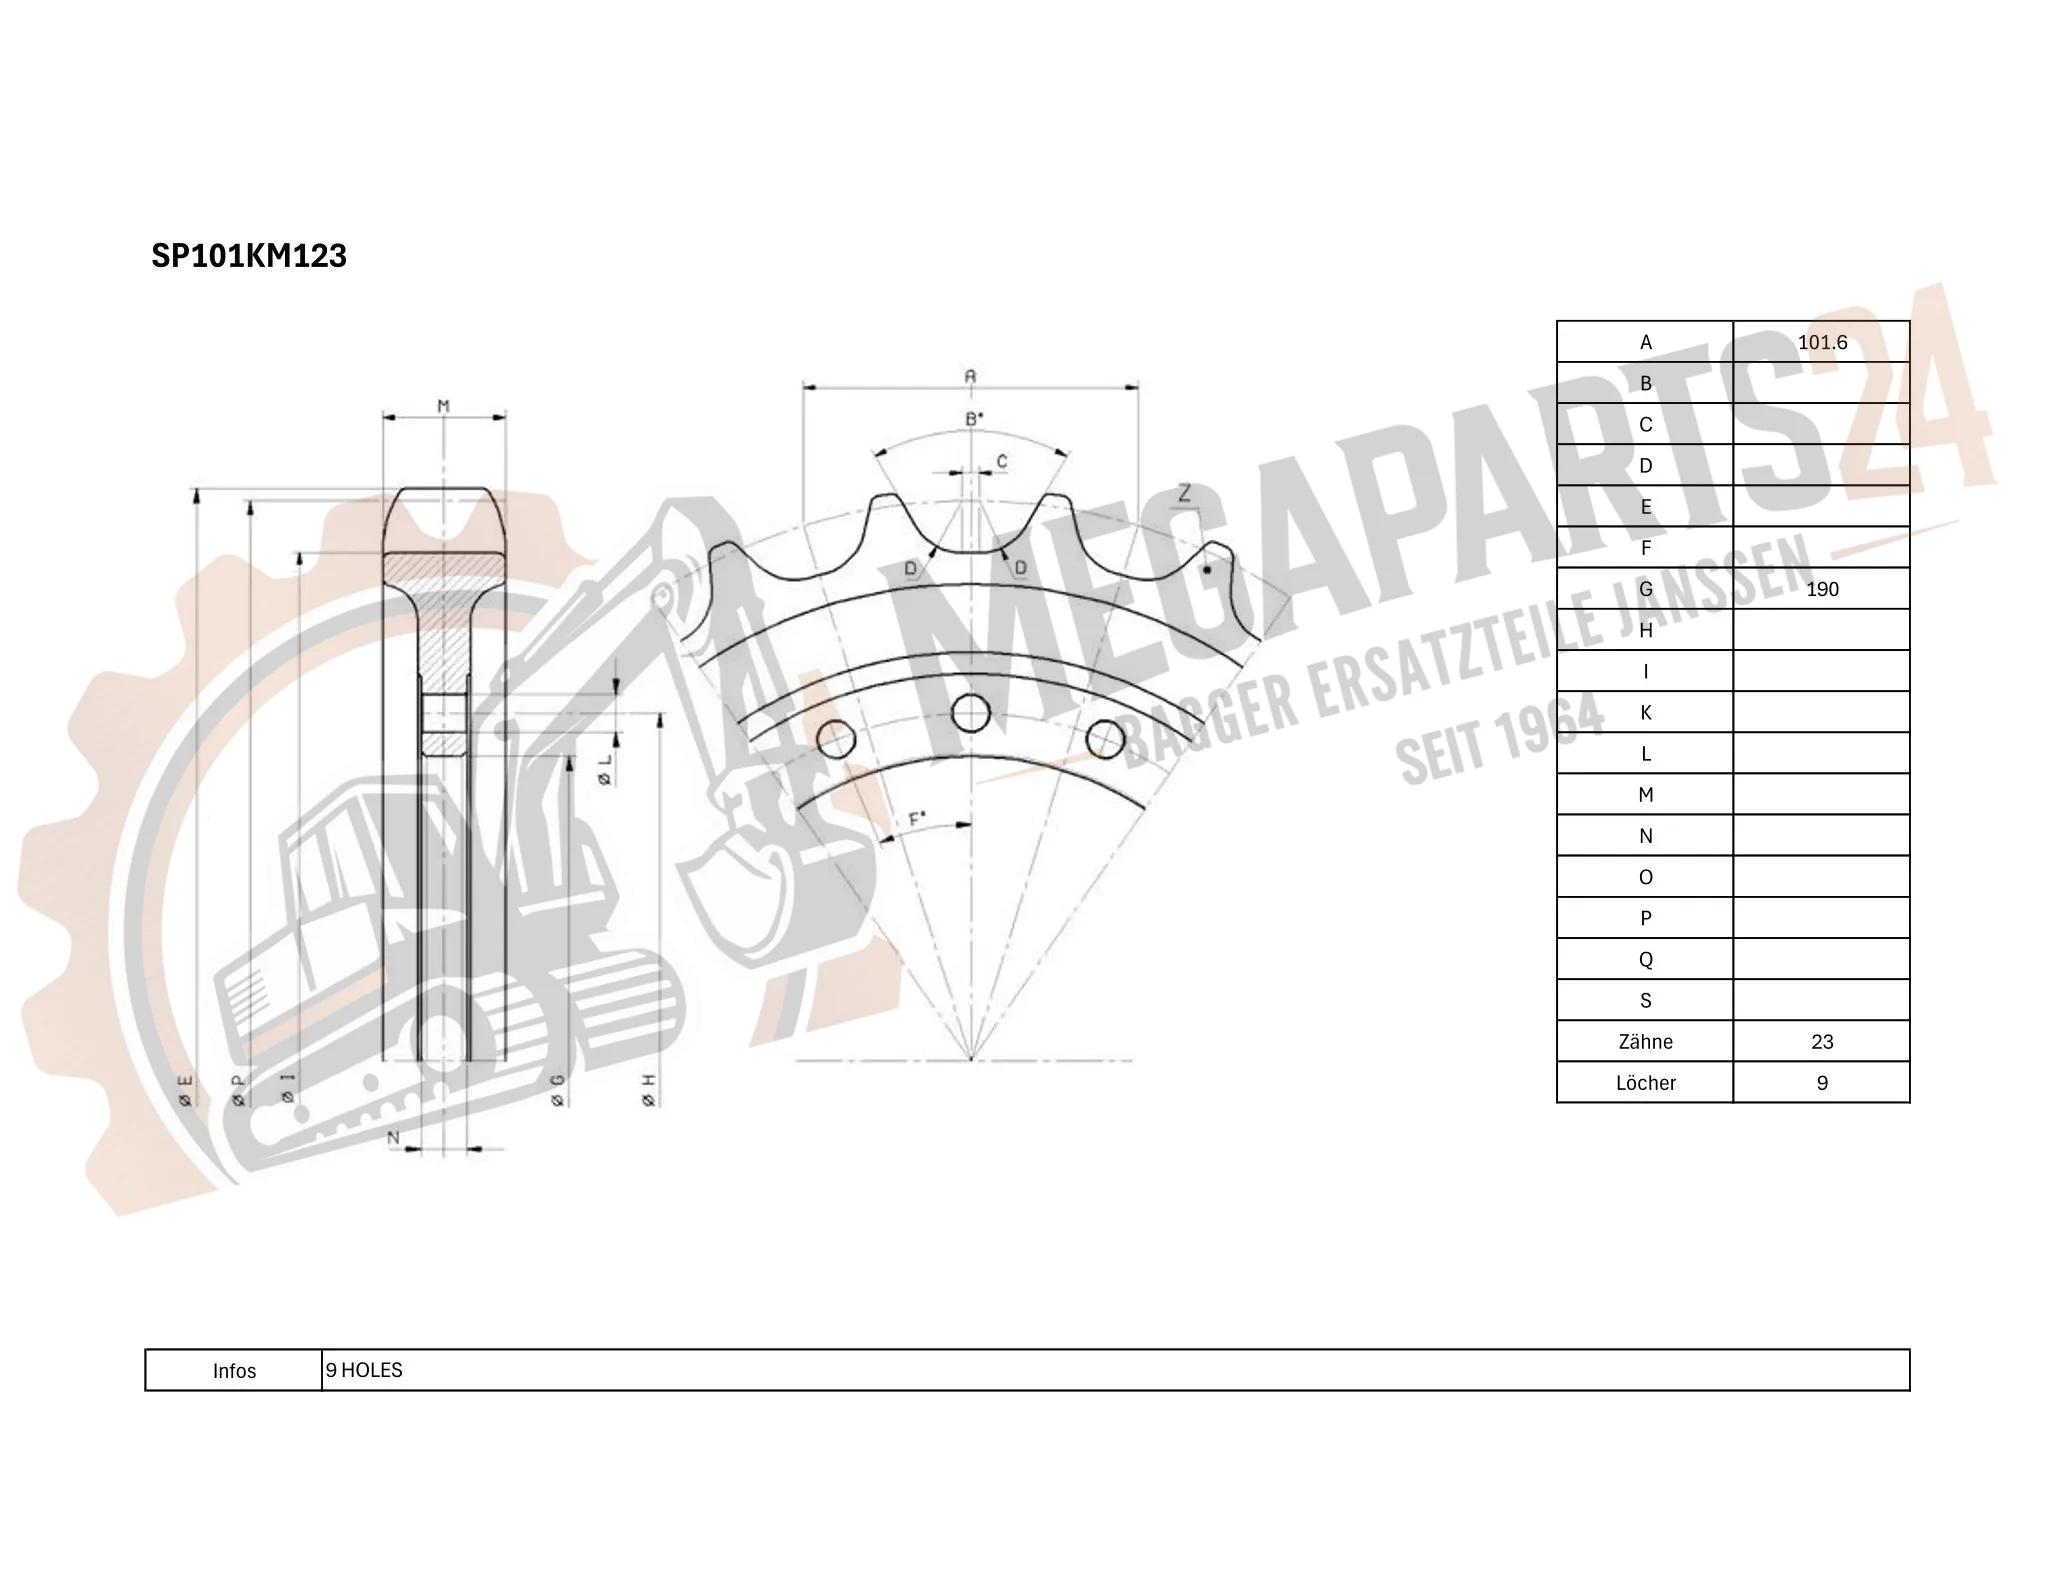
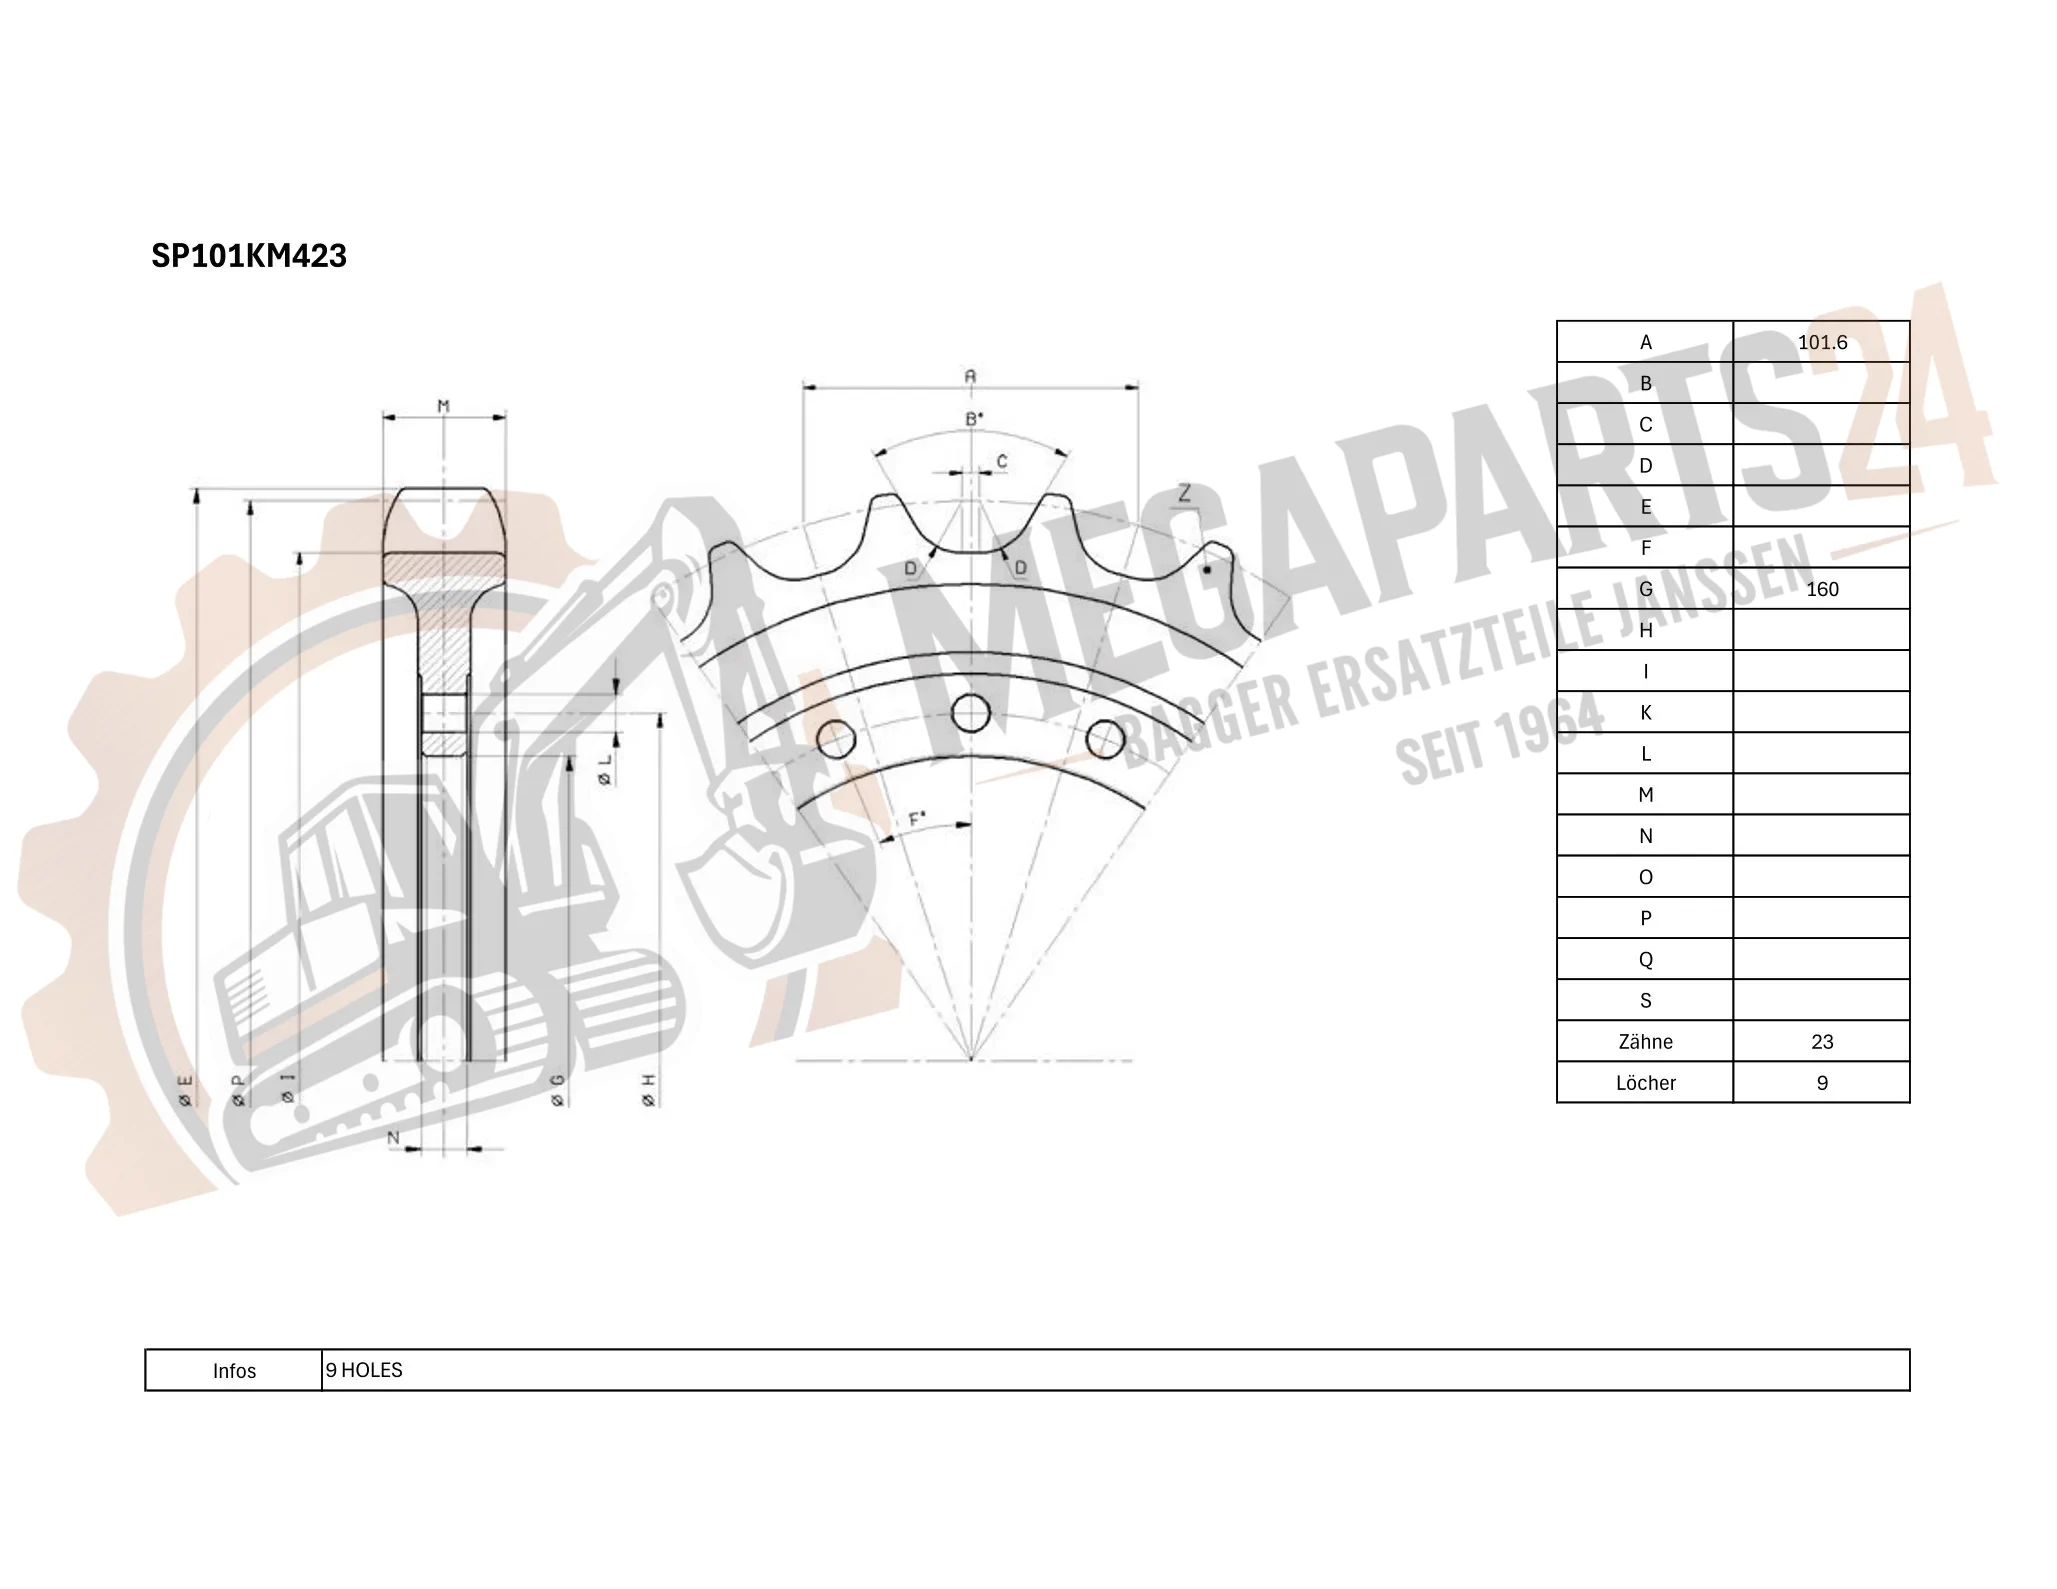
Only a selection is shown here. Enter the equipment model now and find the matching spare part
Note: to determine which spare part fits you always need the equipment model.
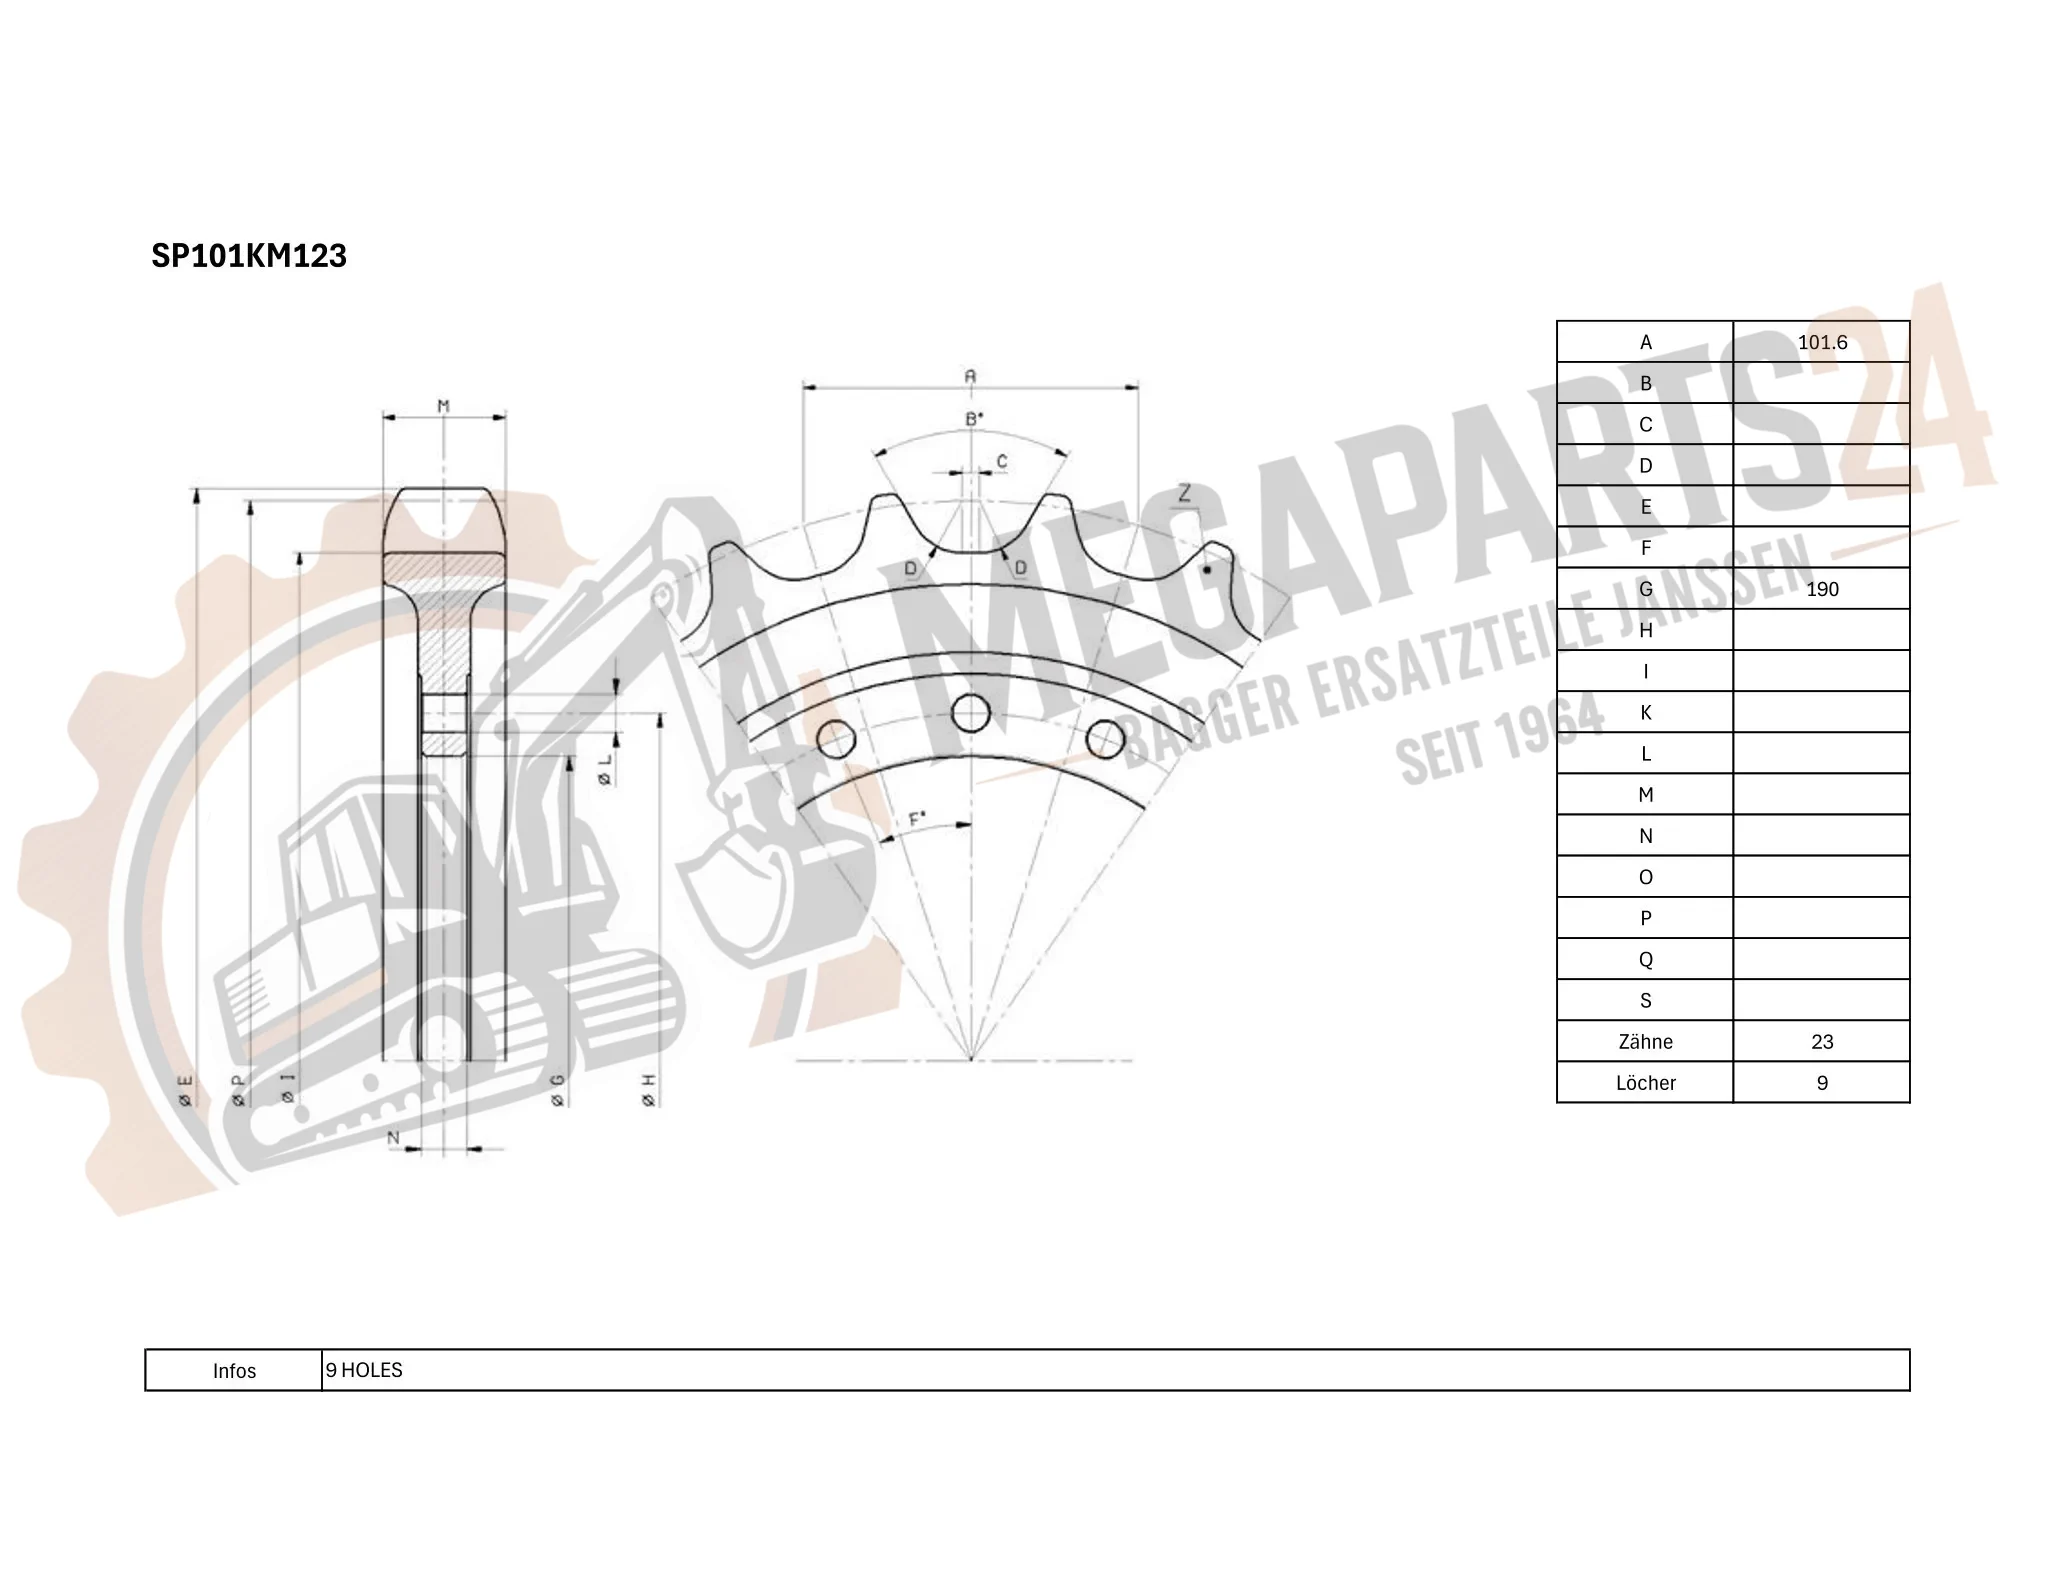
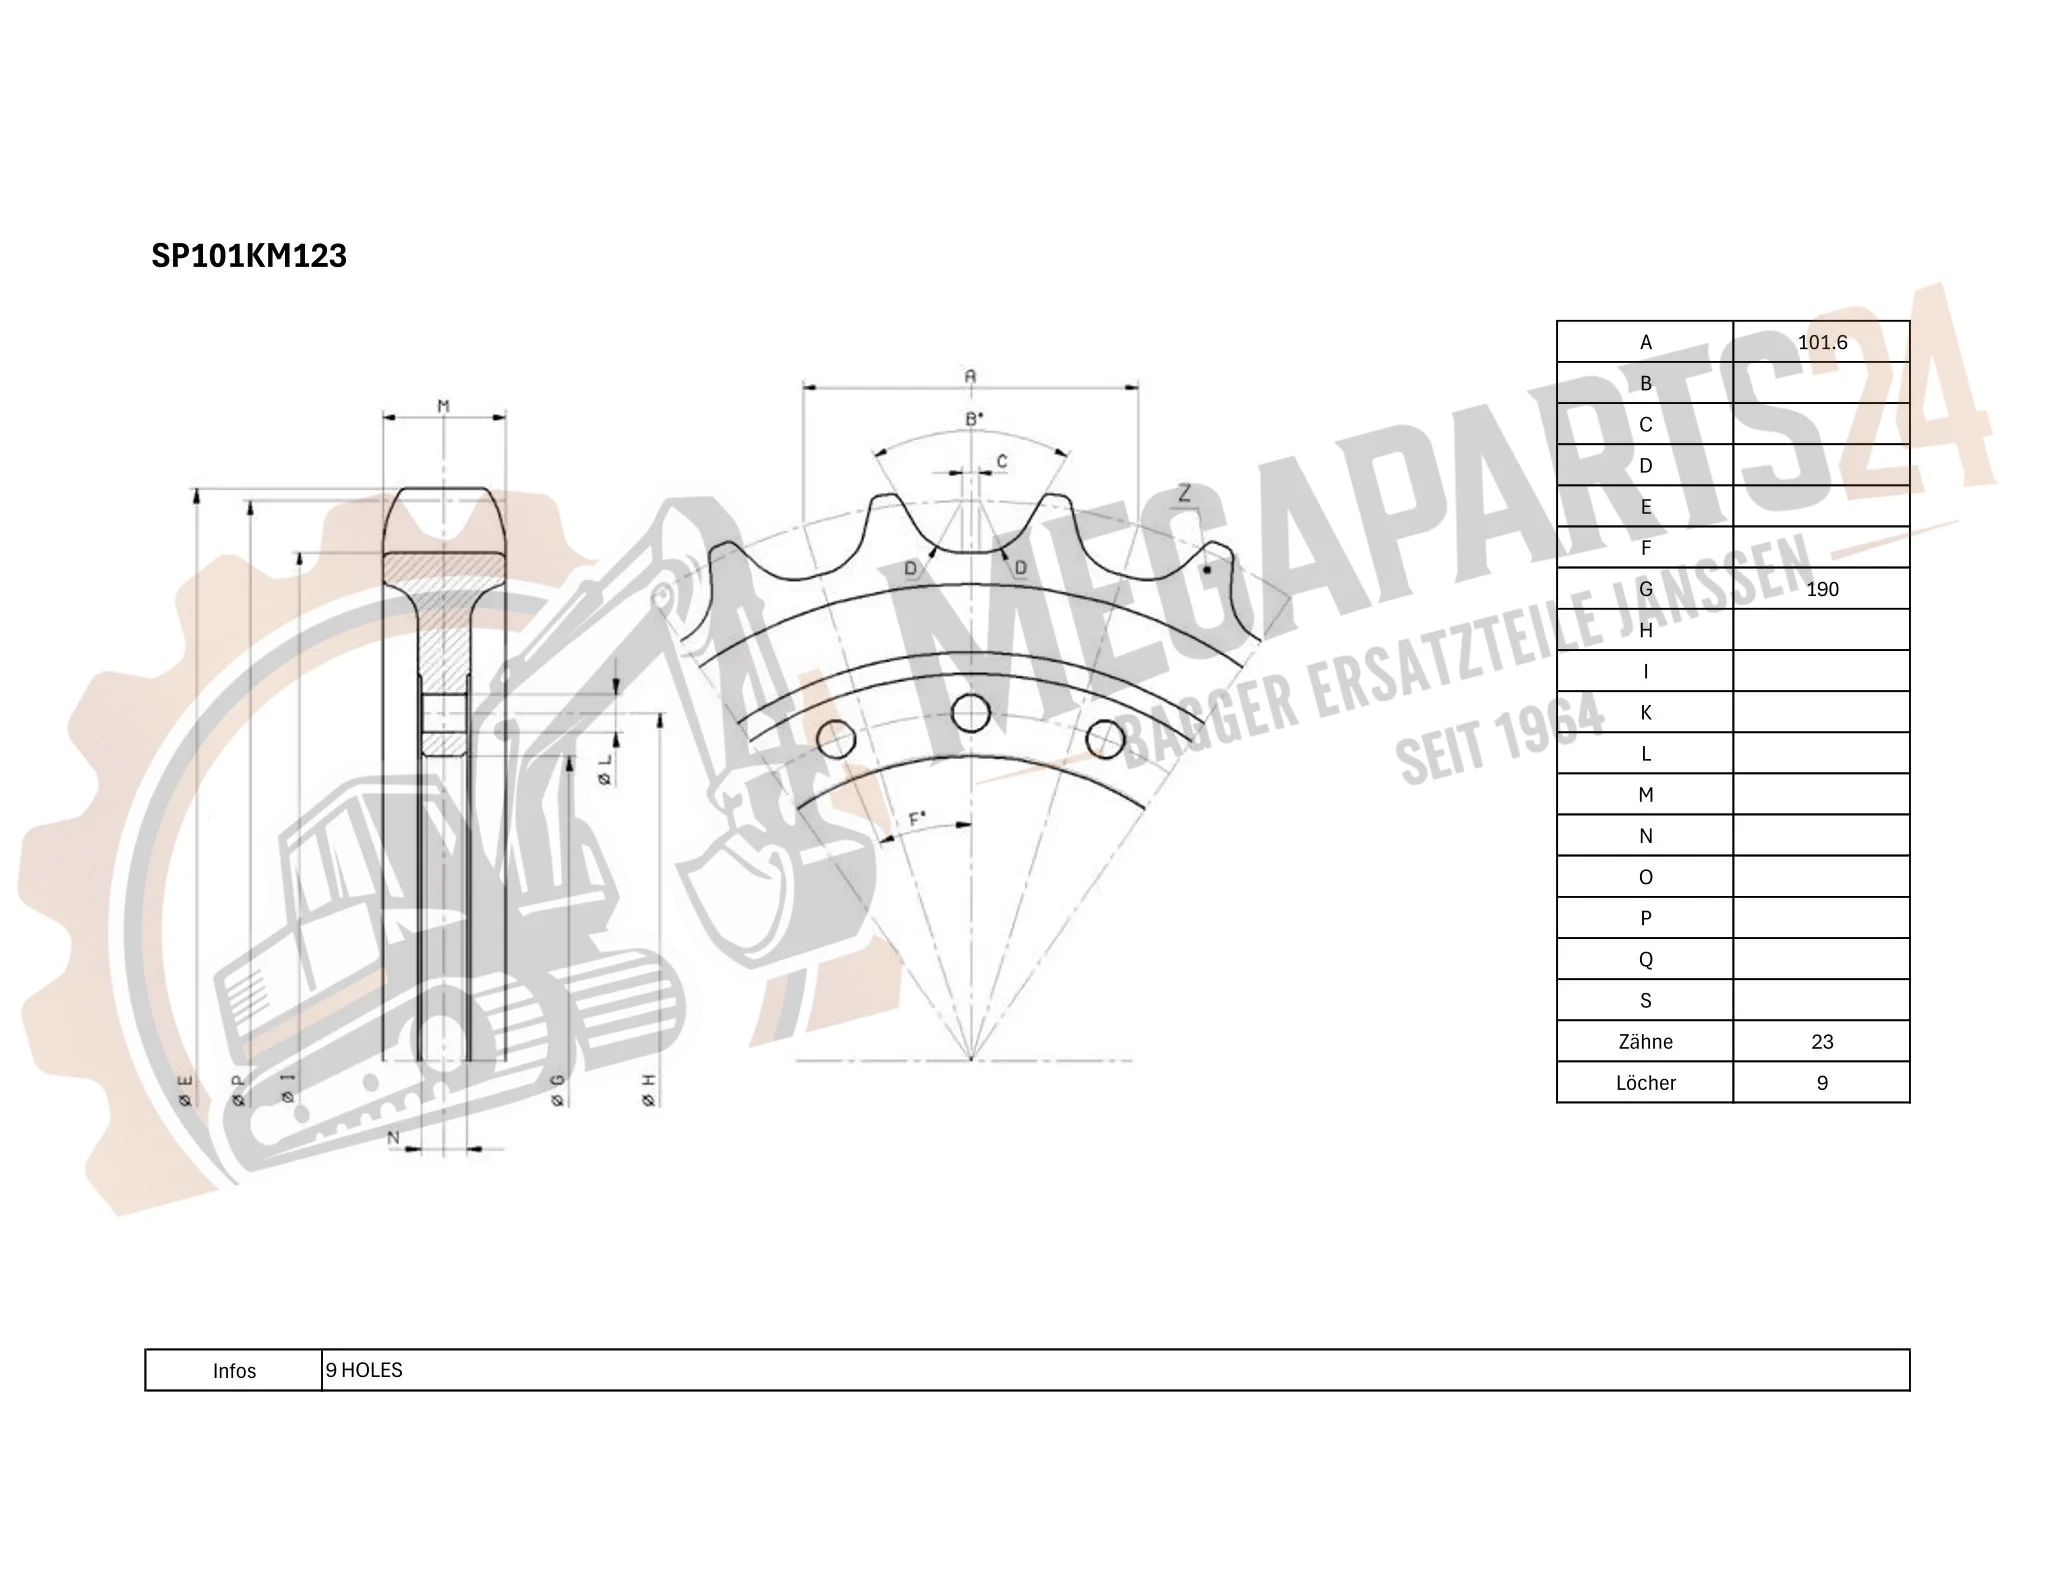
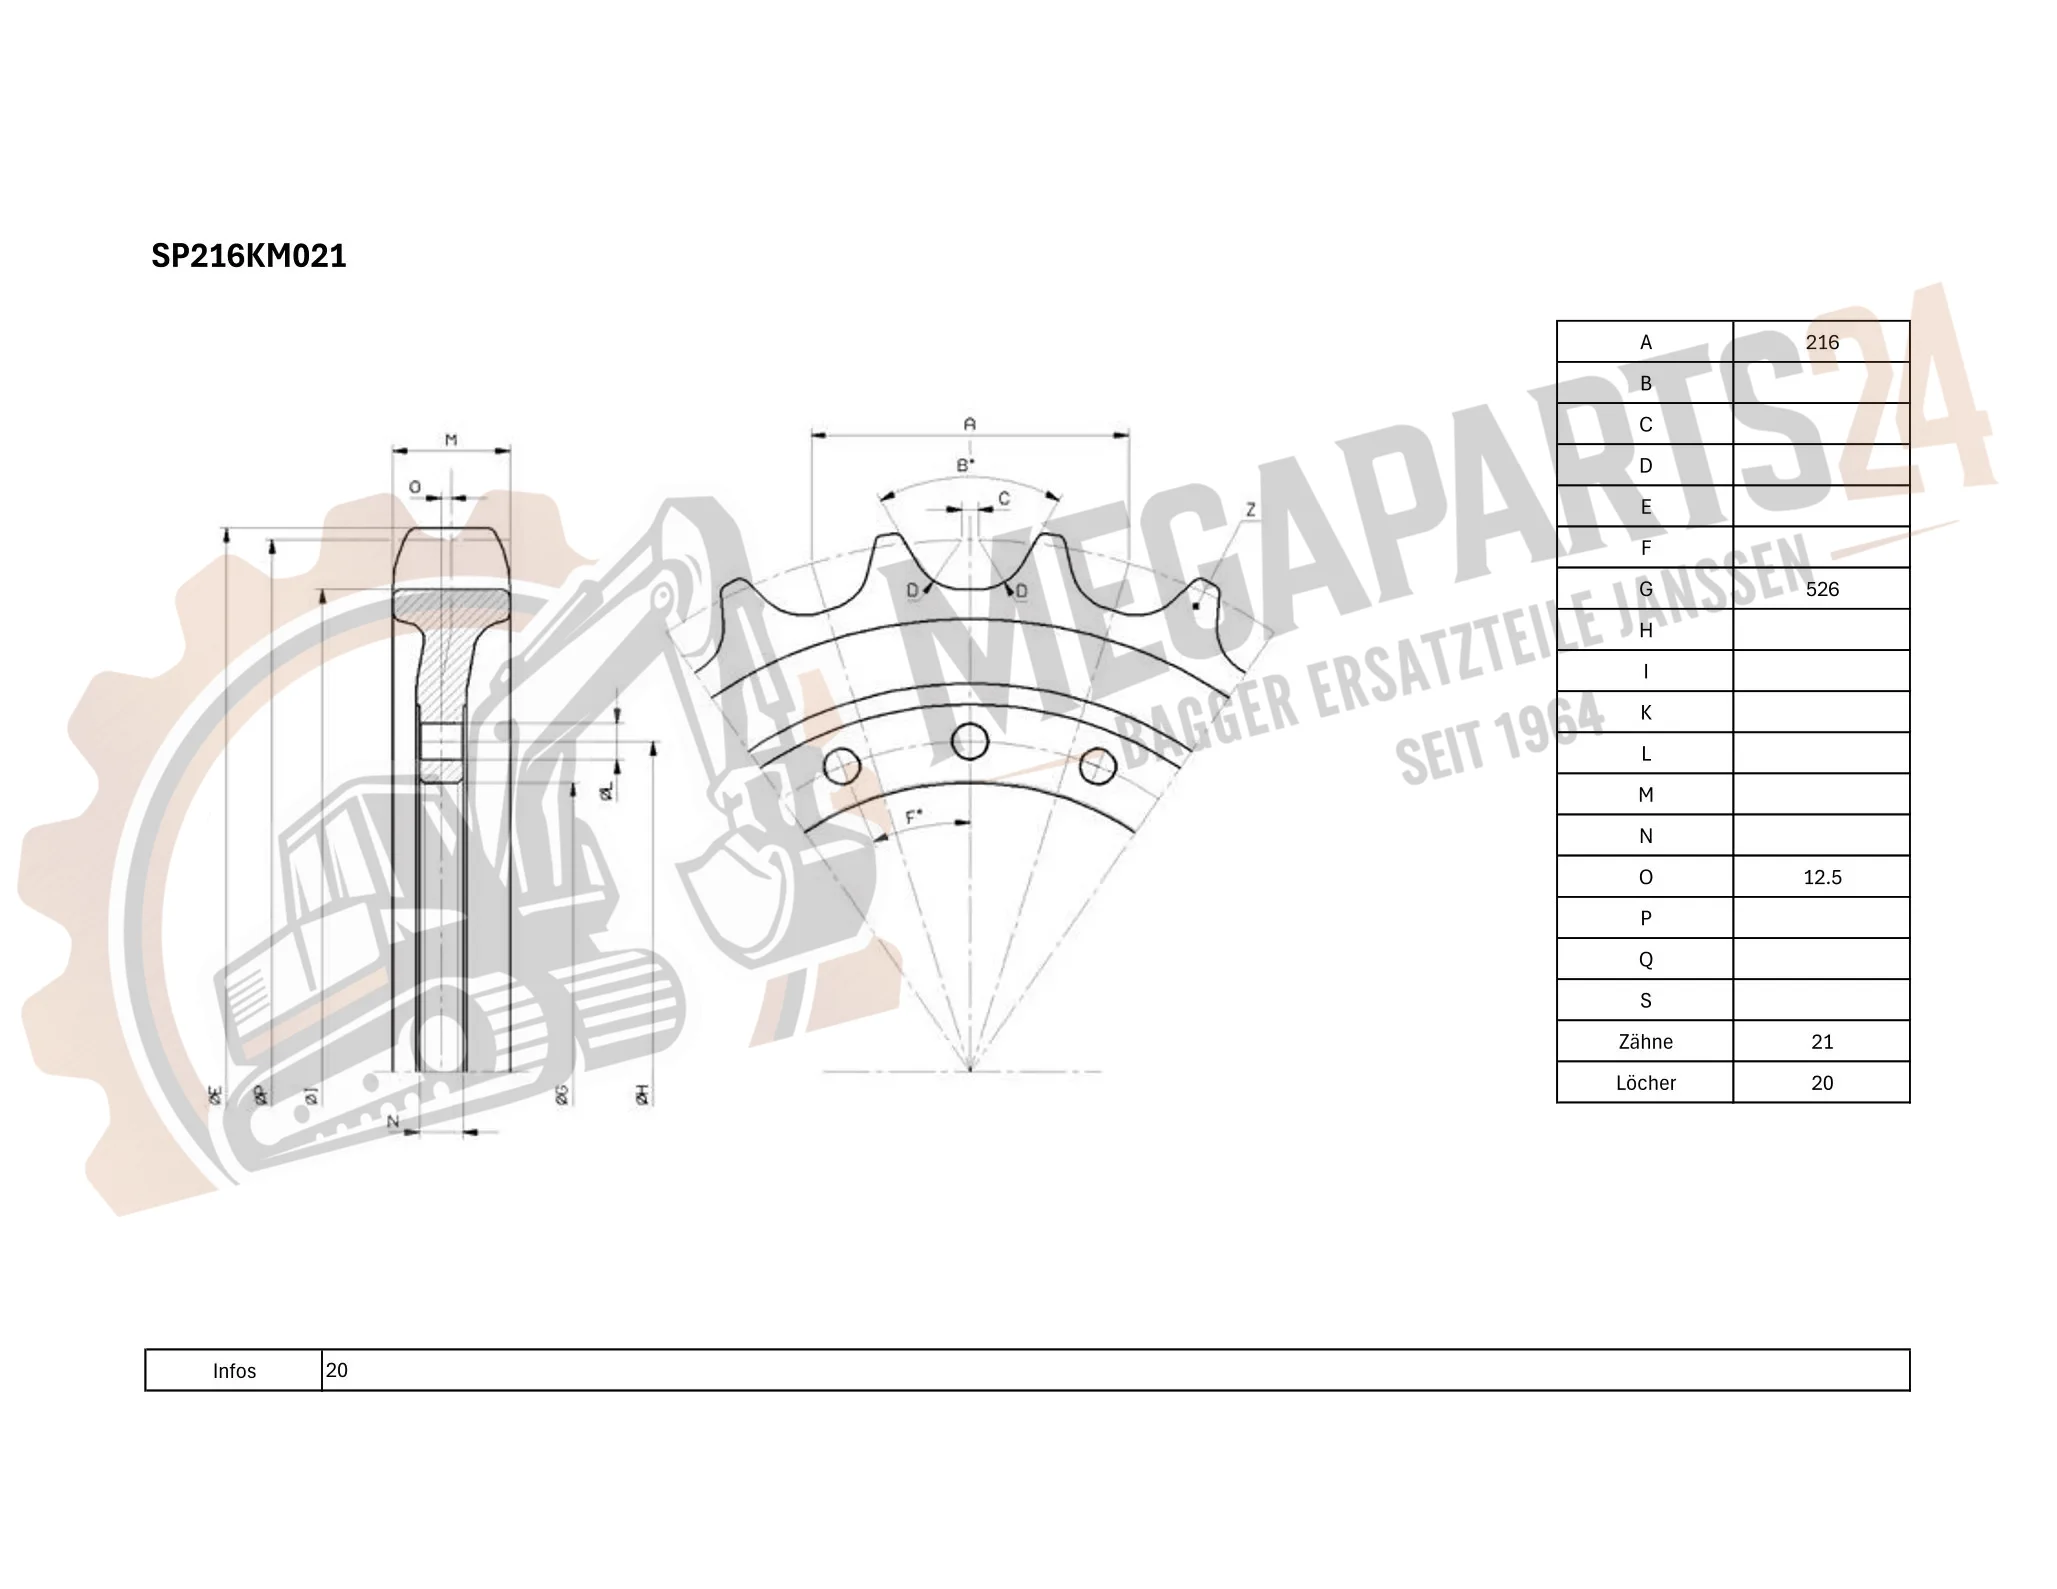
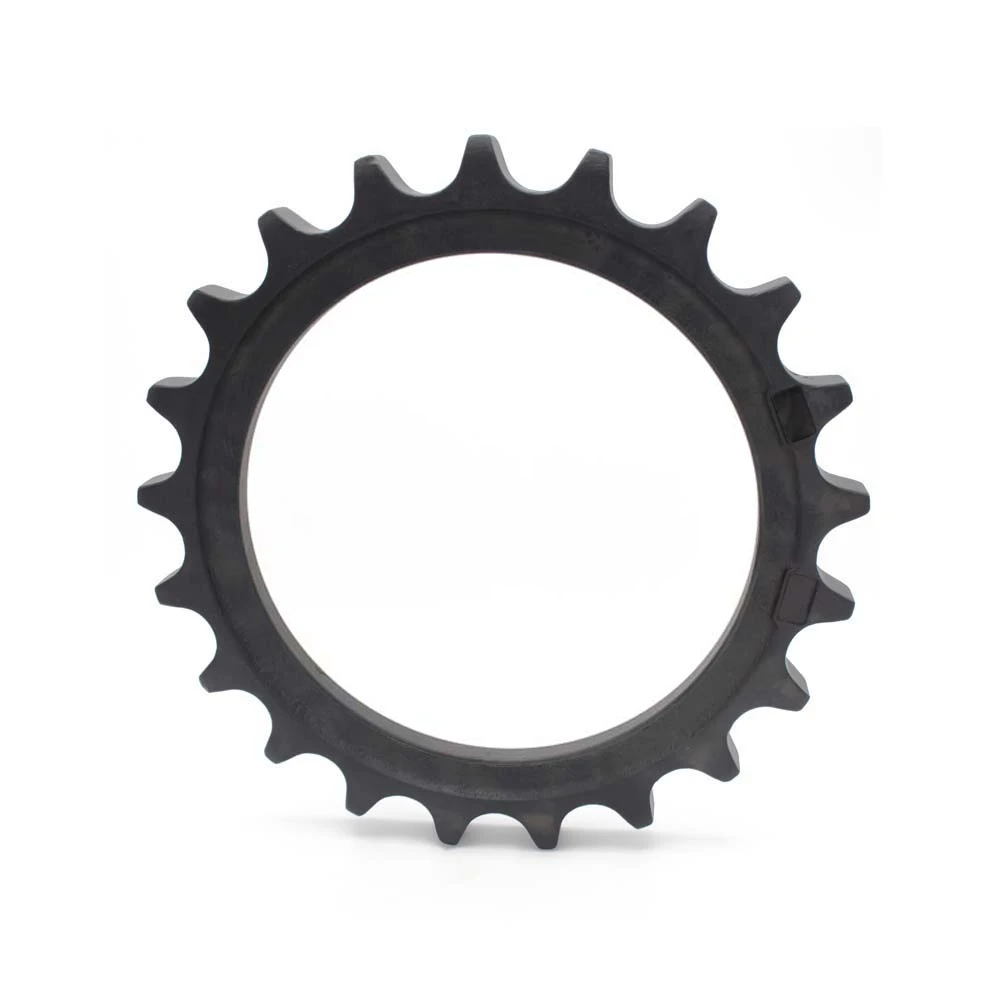
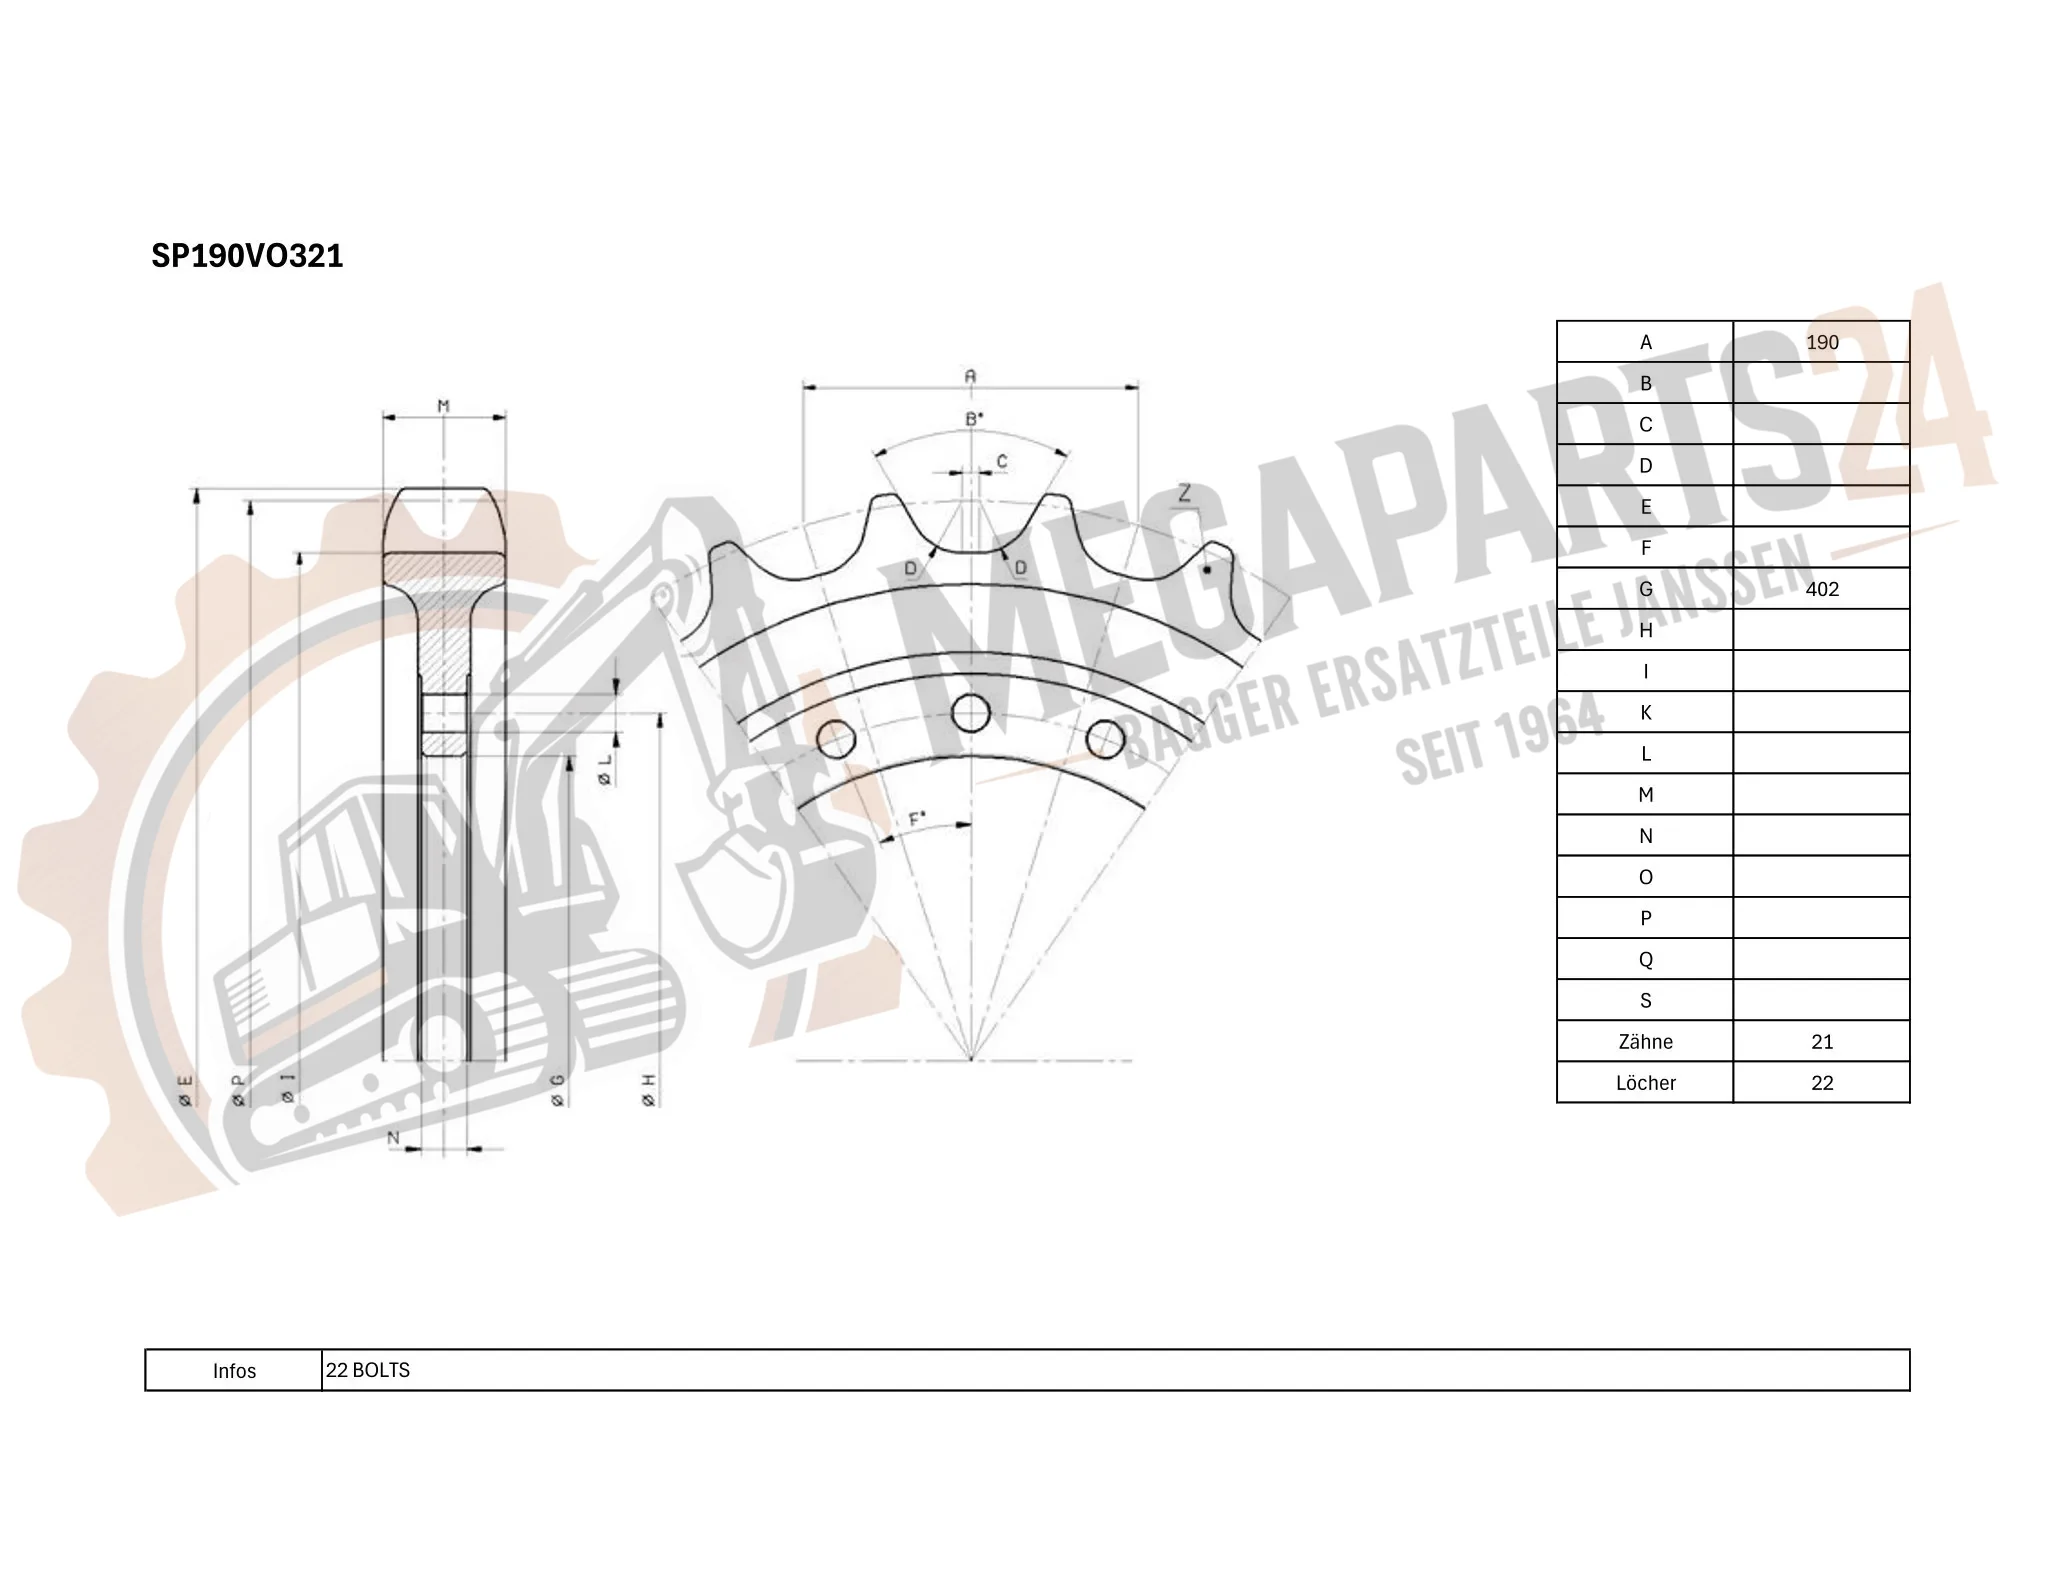
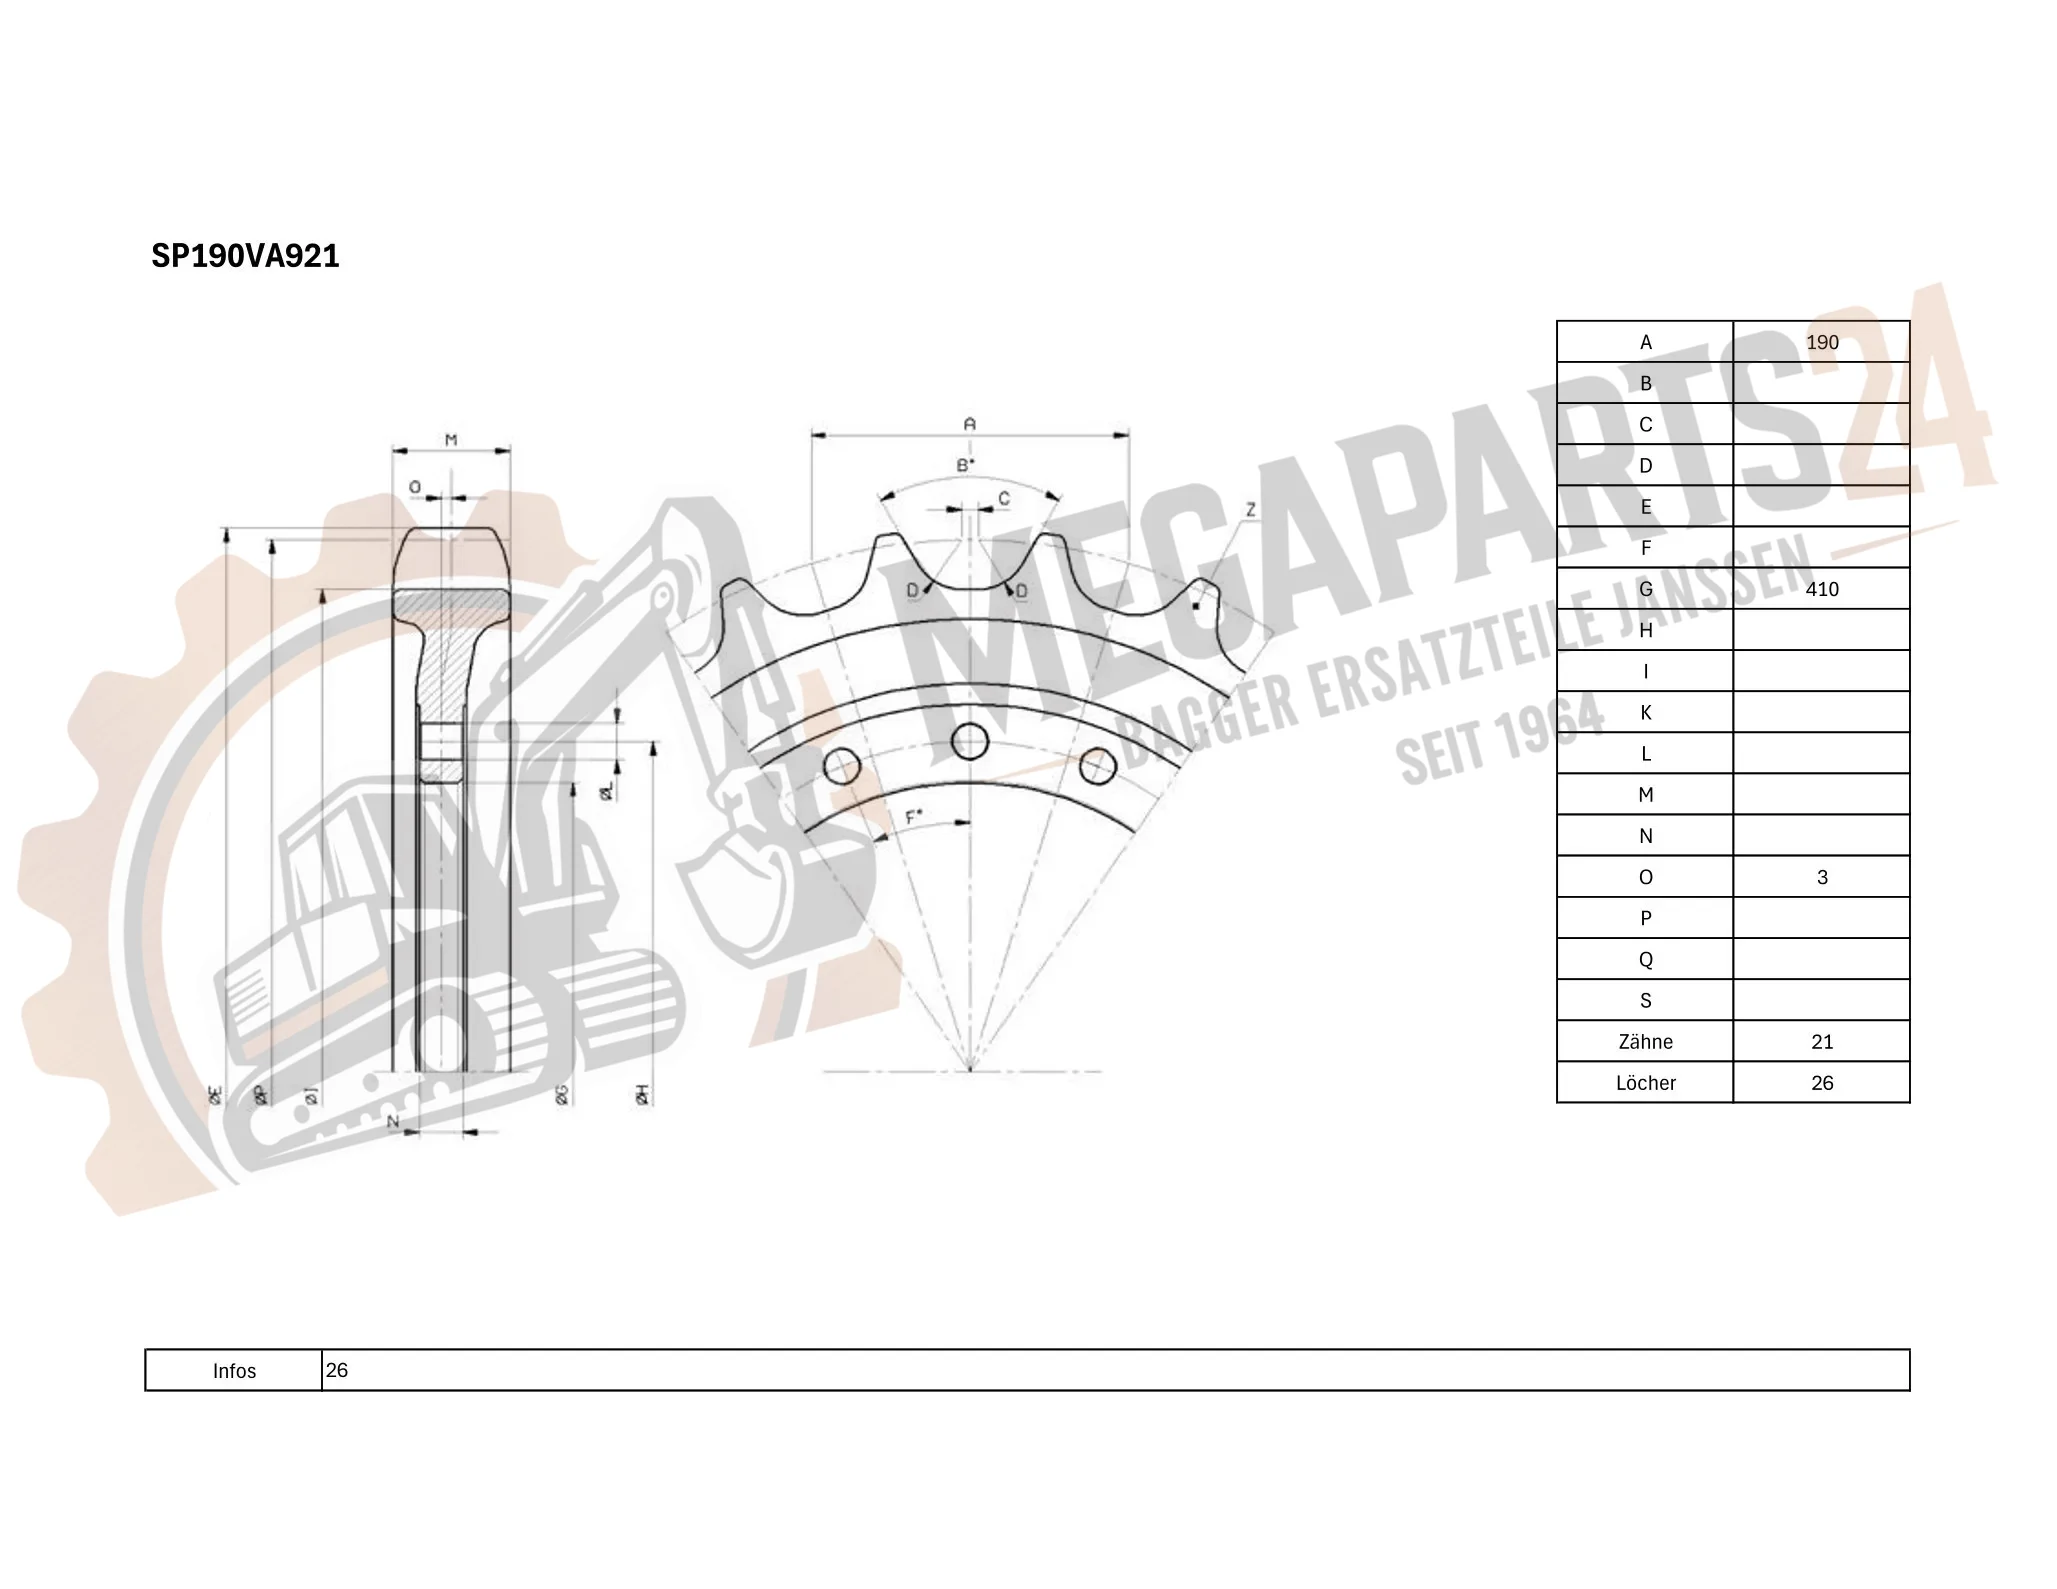
Only a selection is shown here. Enter the equipment model now and find the matching spare part
Note: to determine which spare part fits you always need the equipment model.
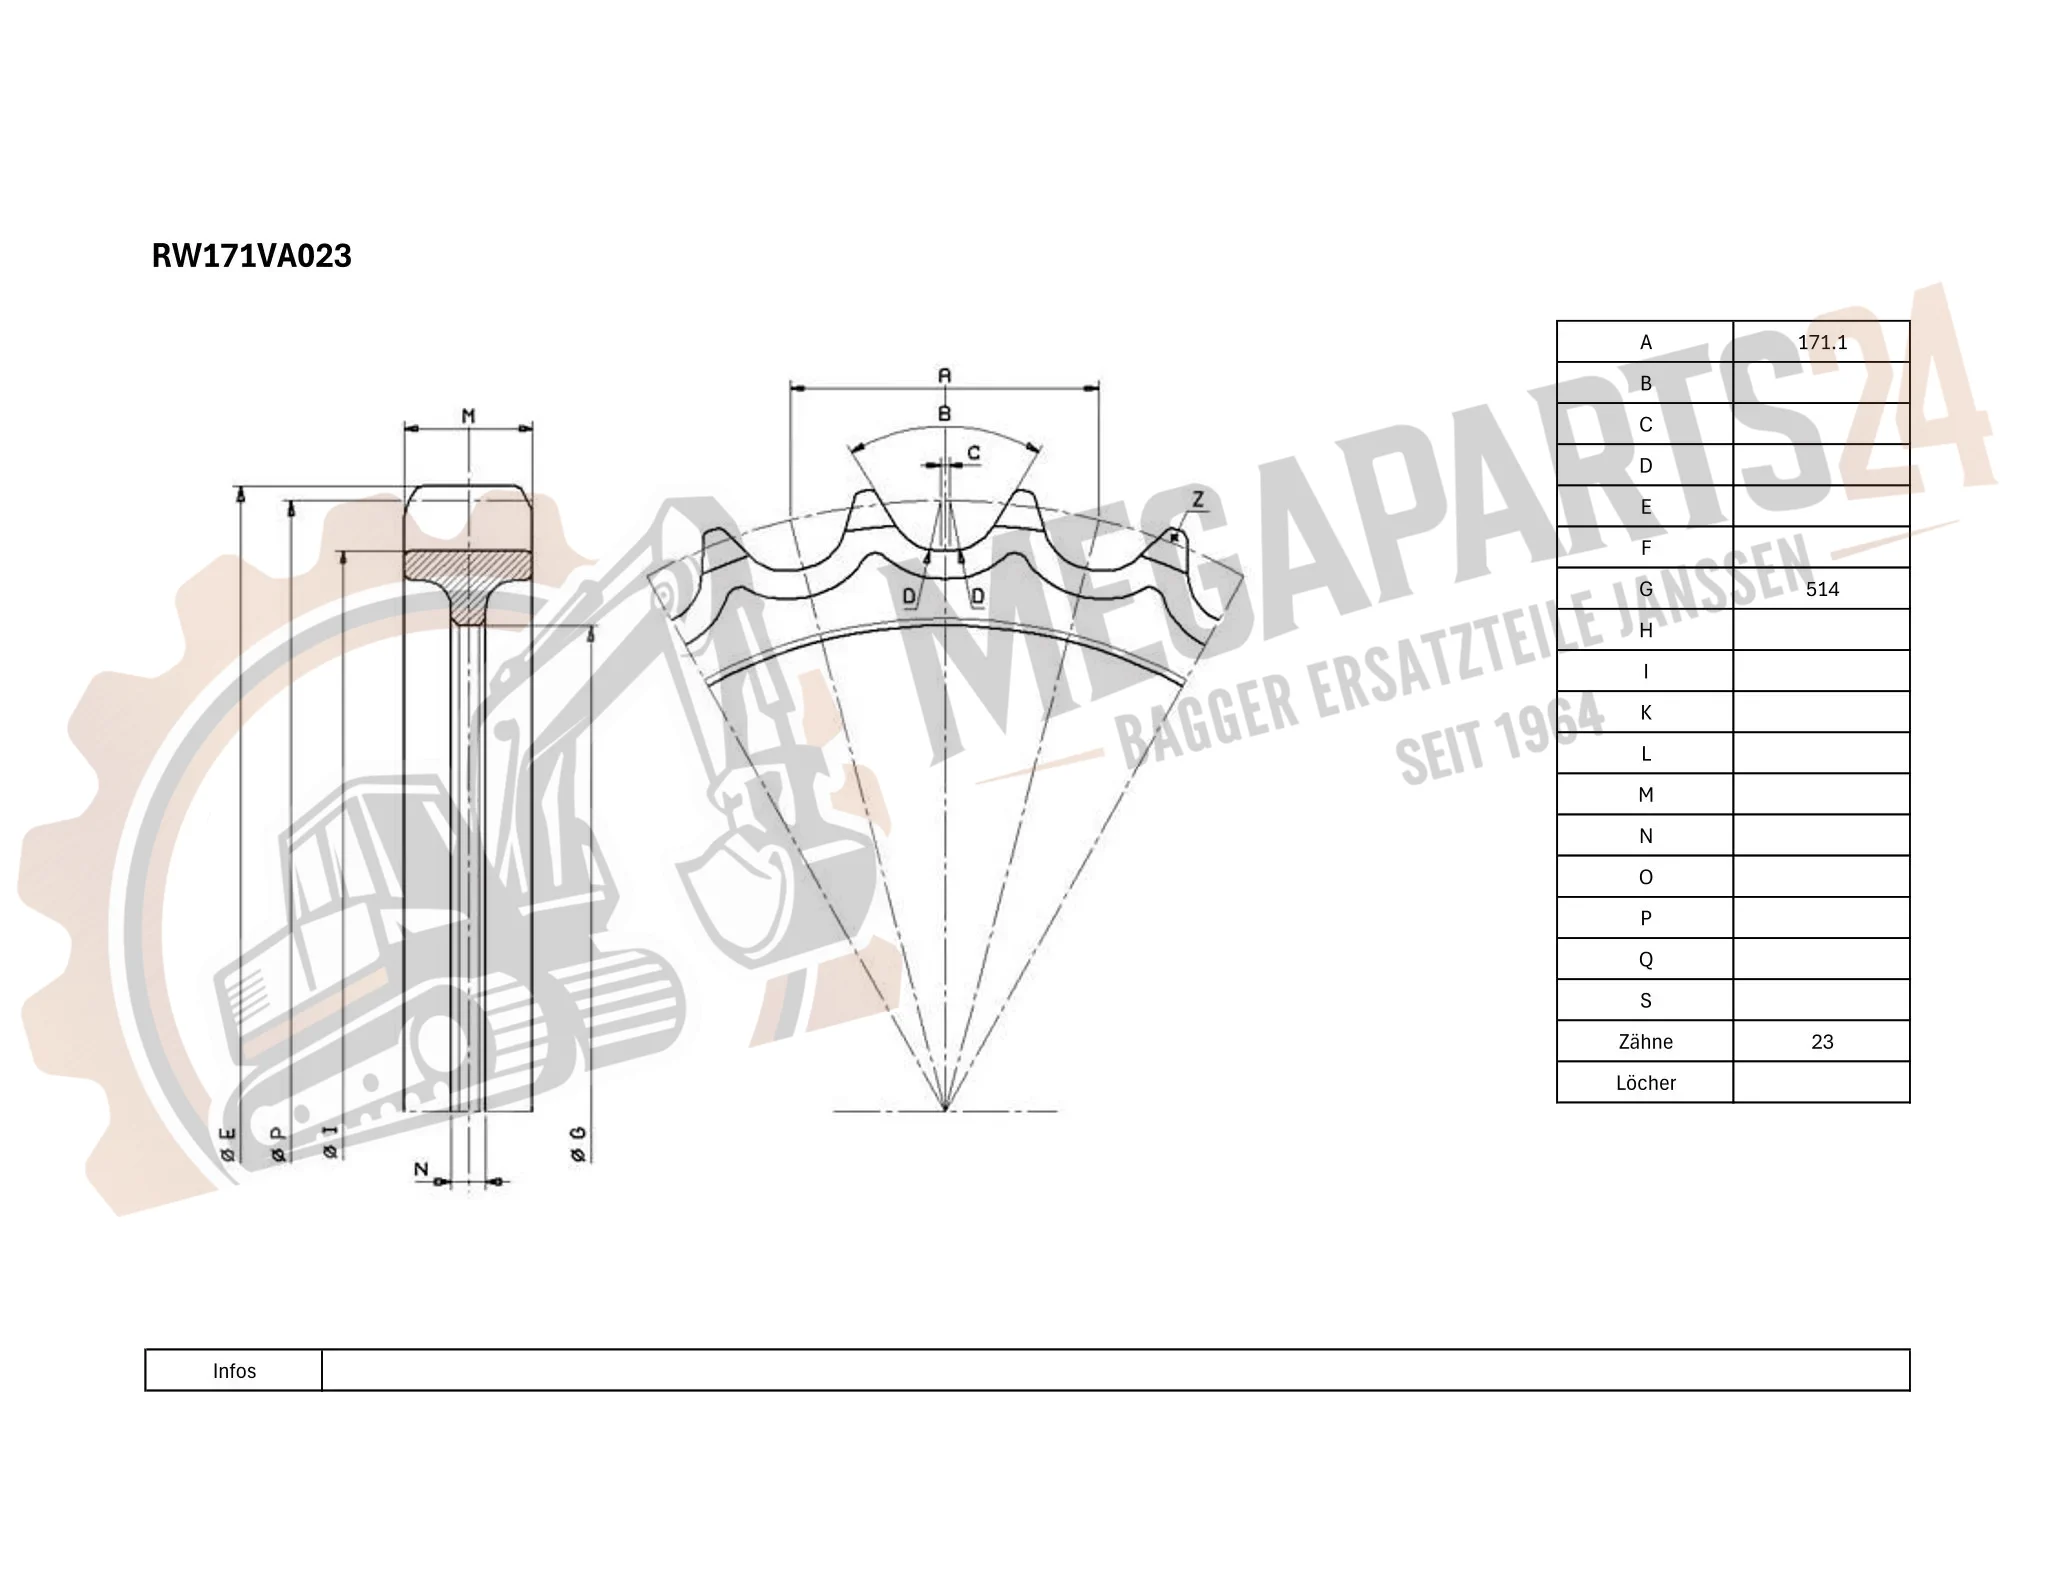
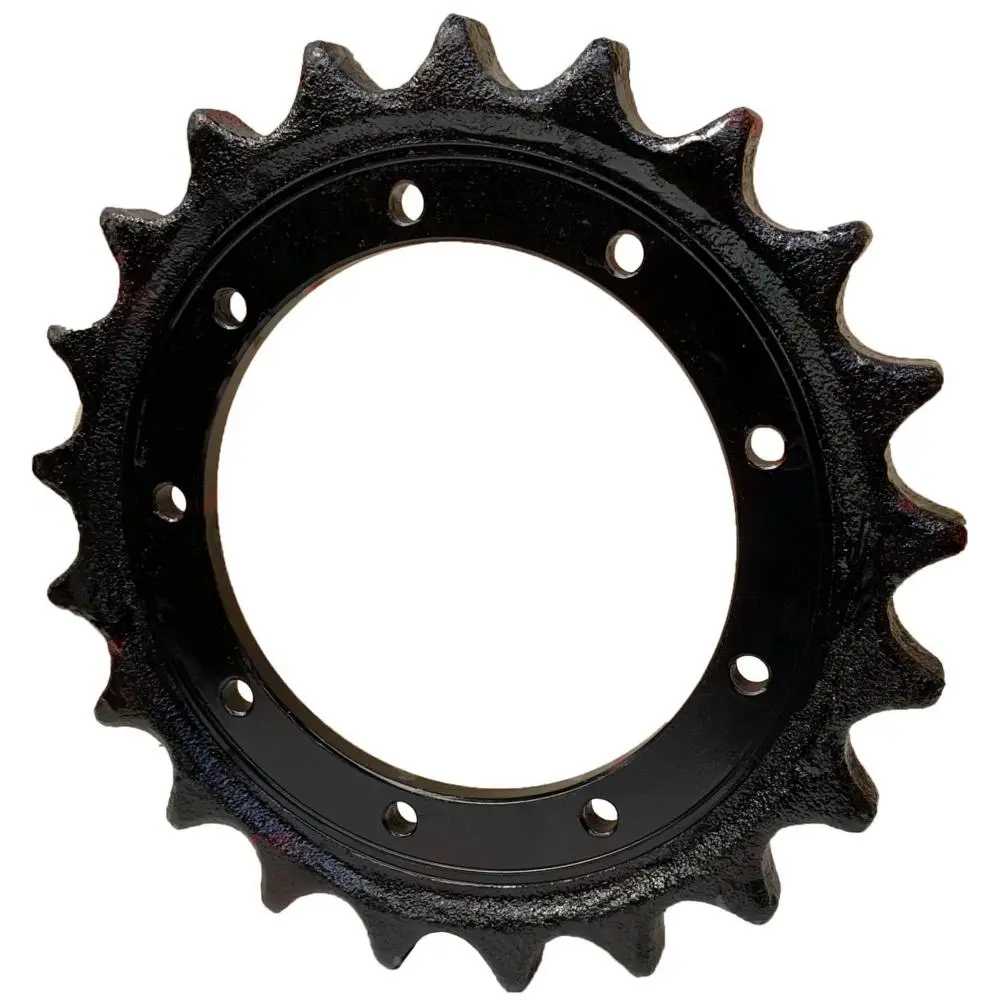

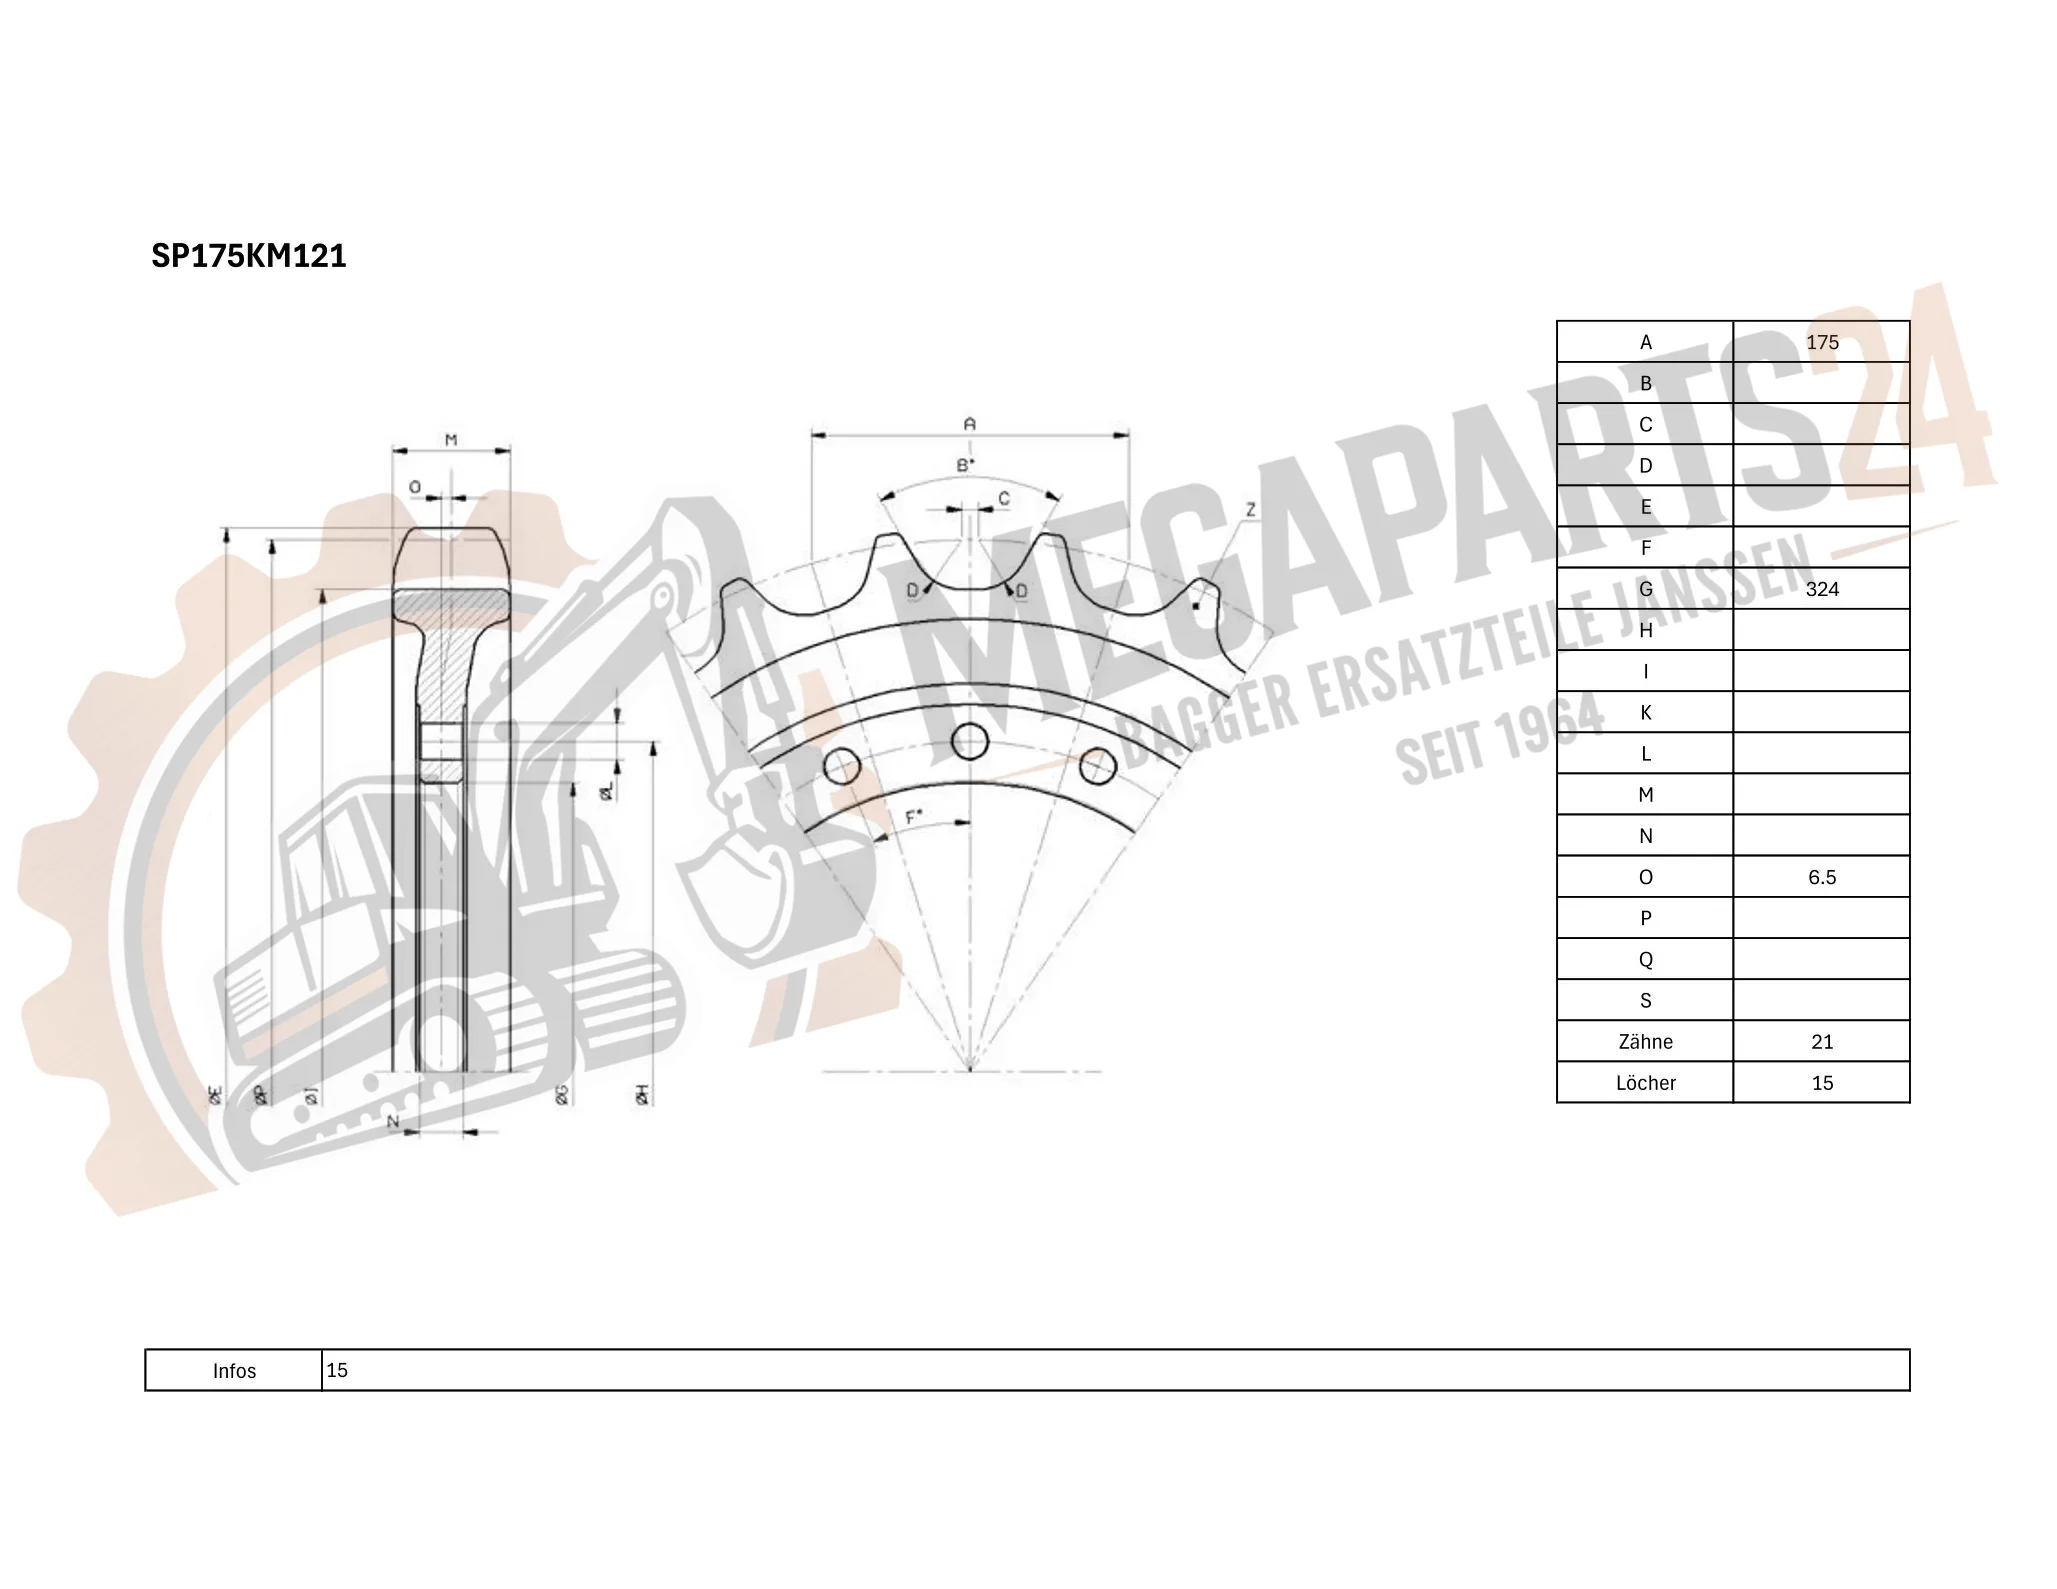
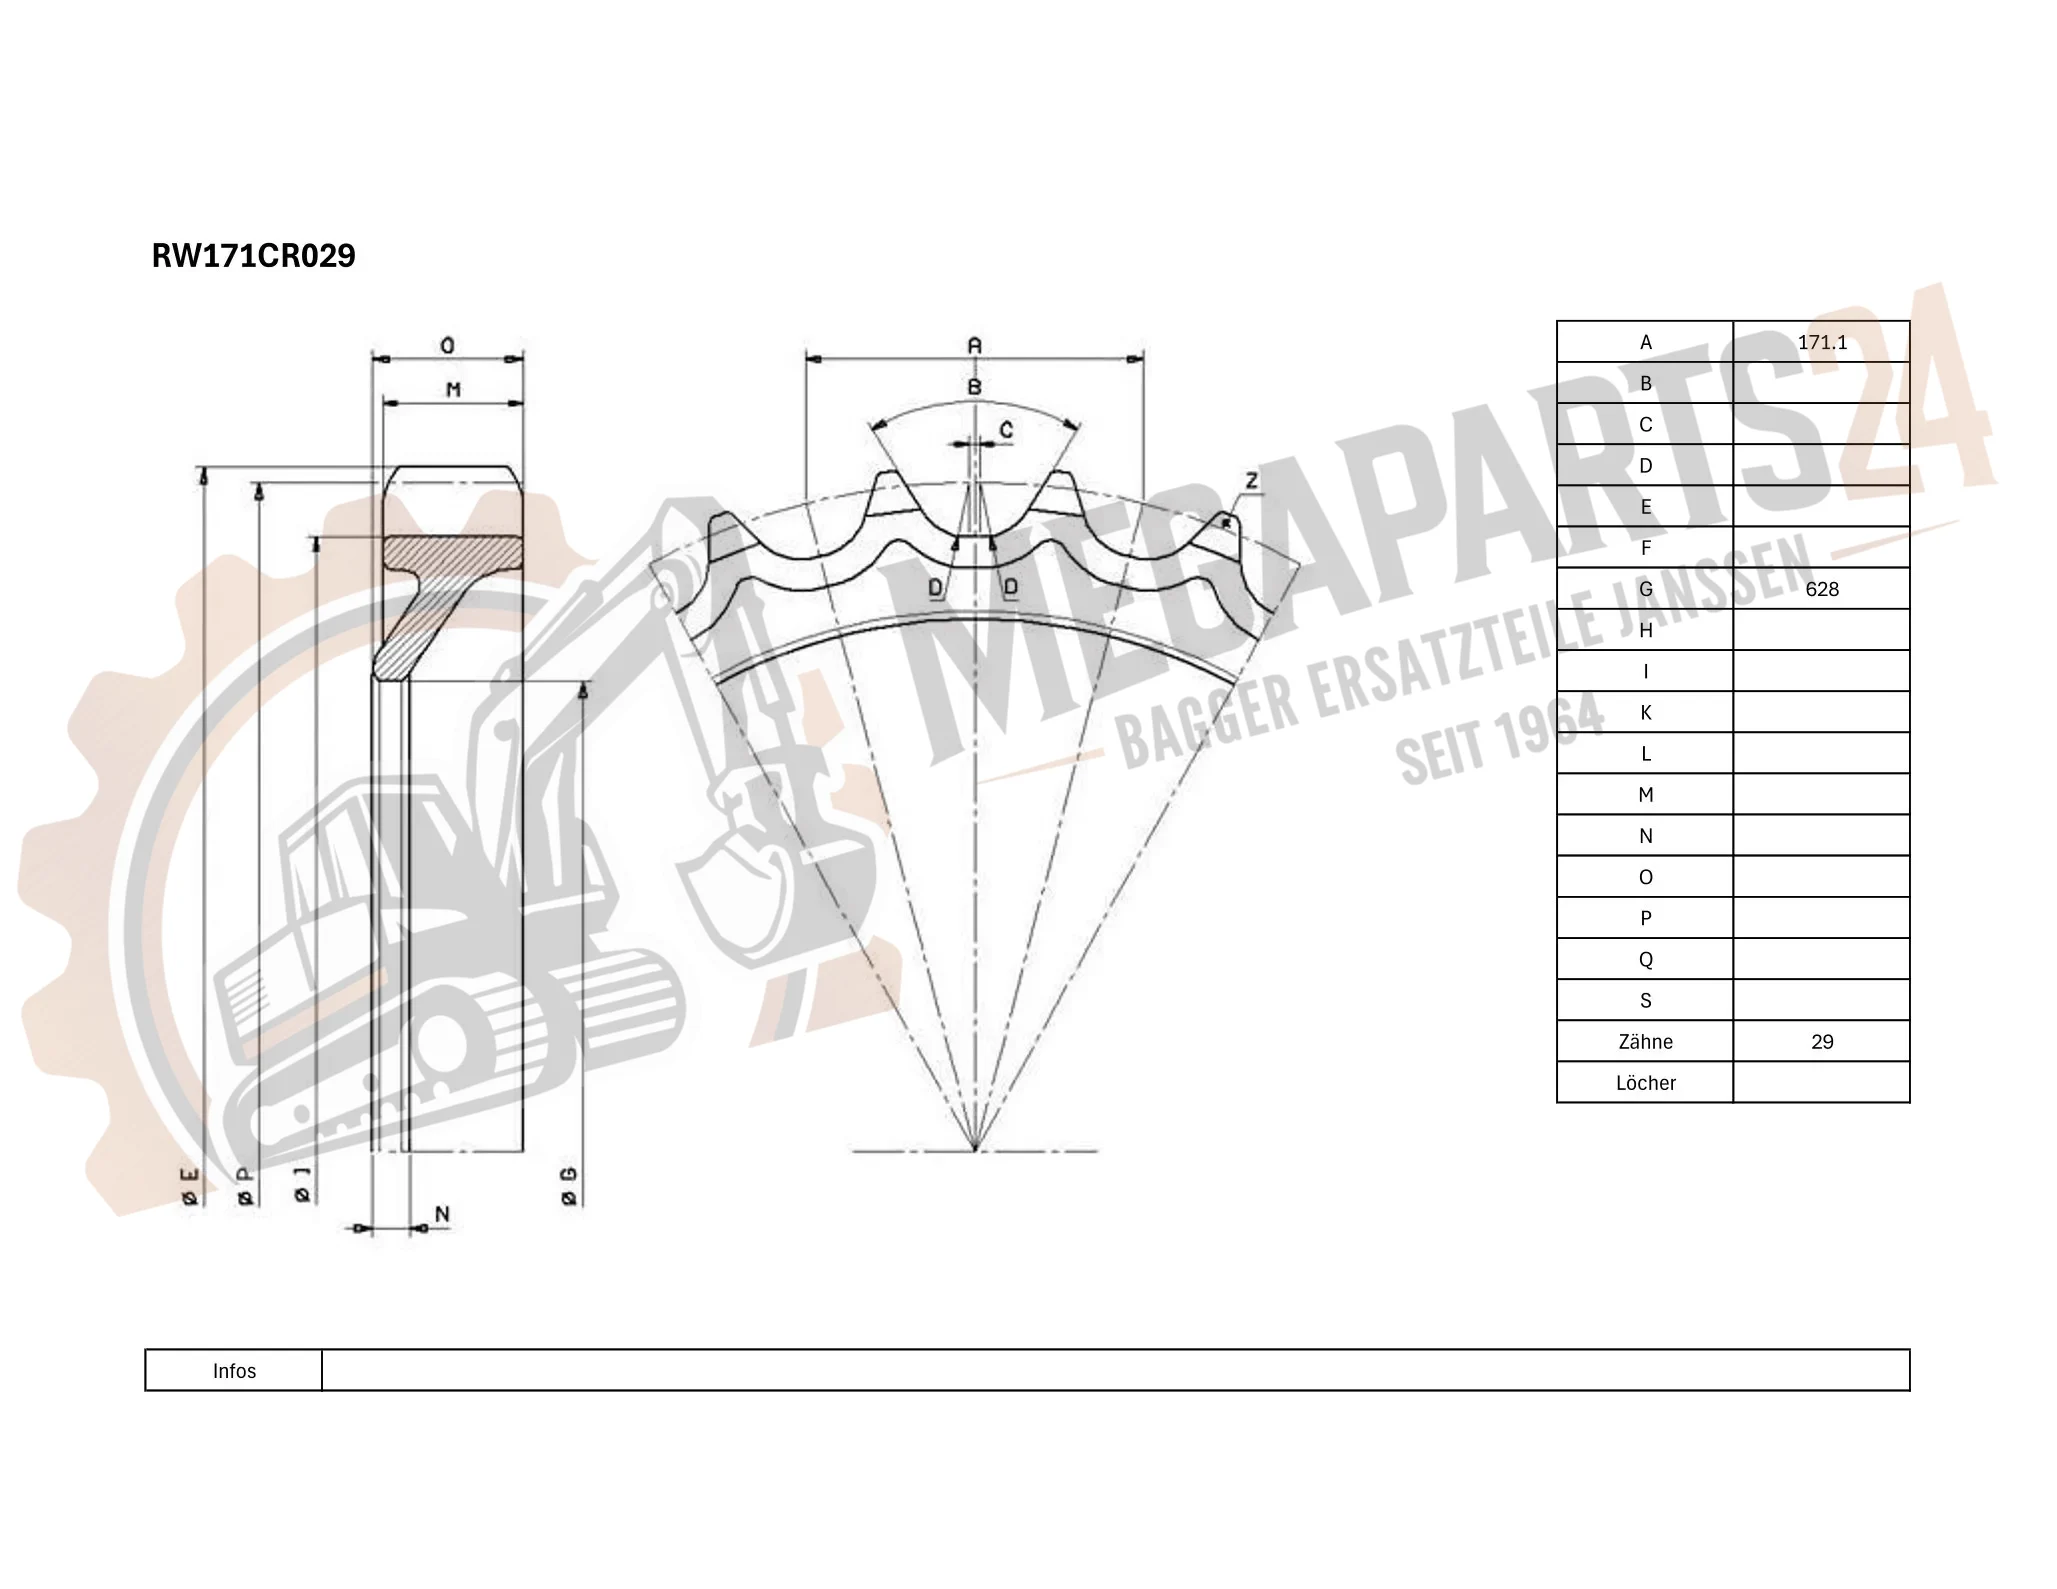
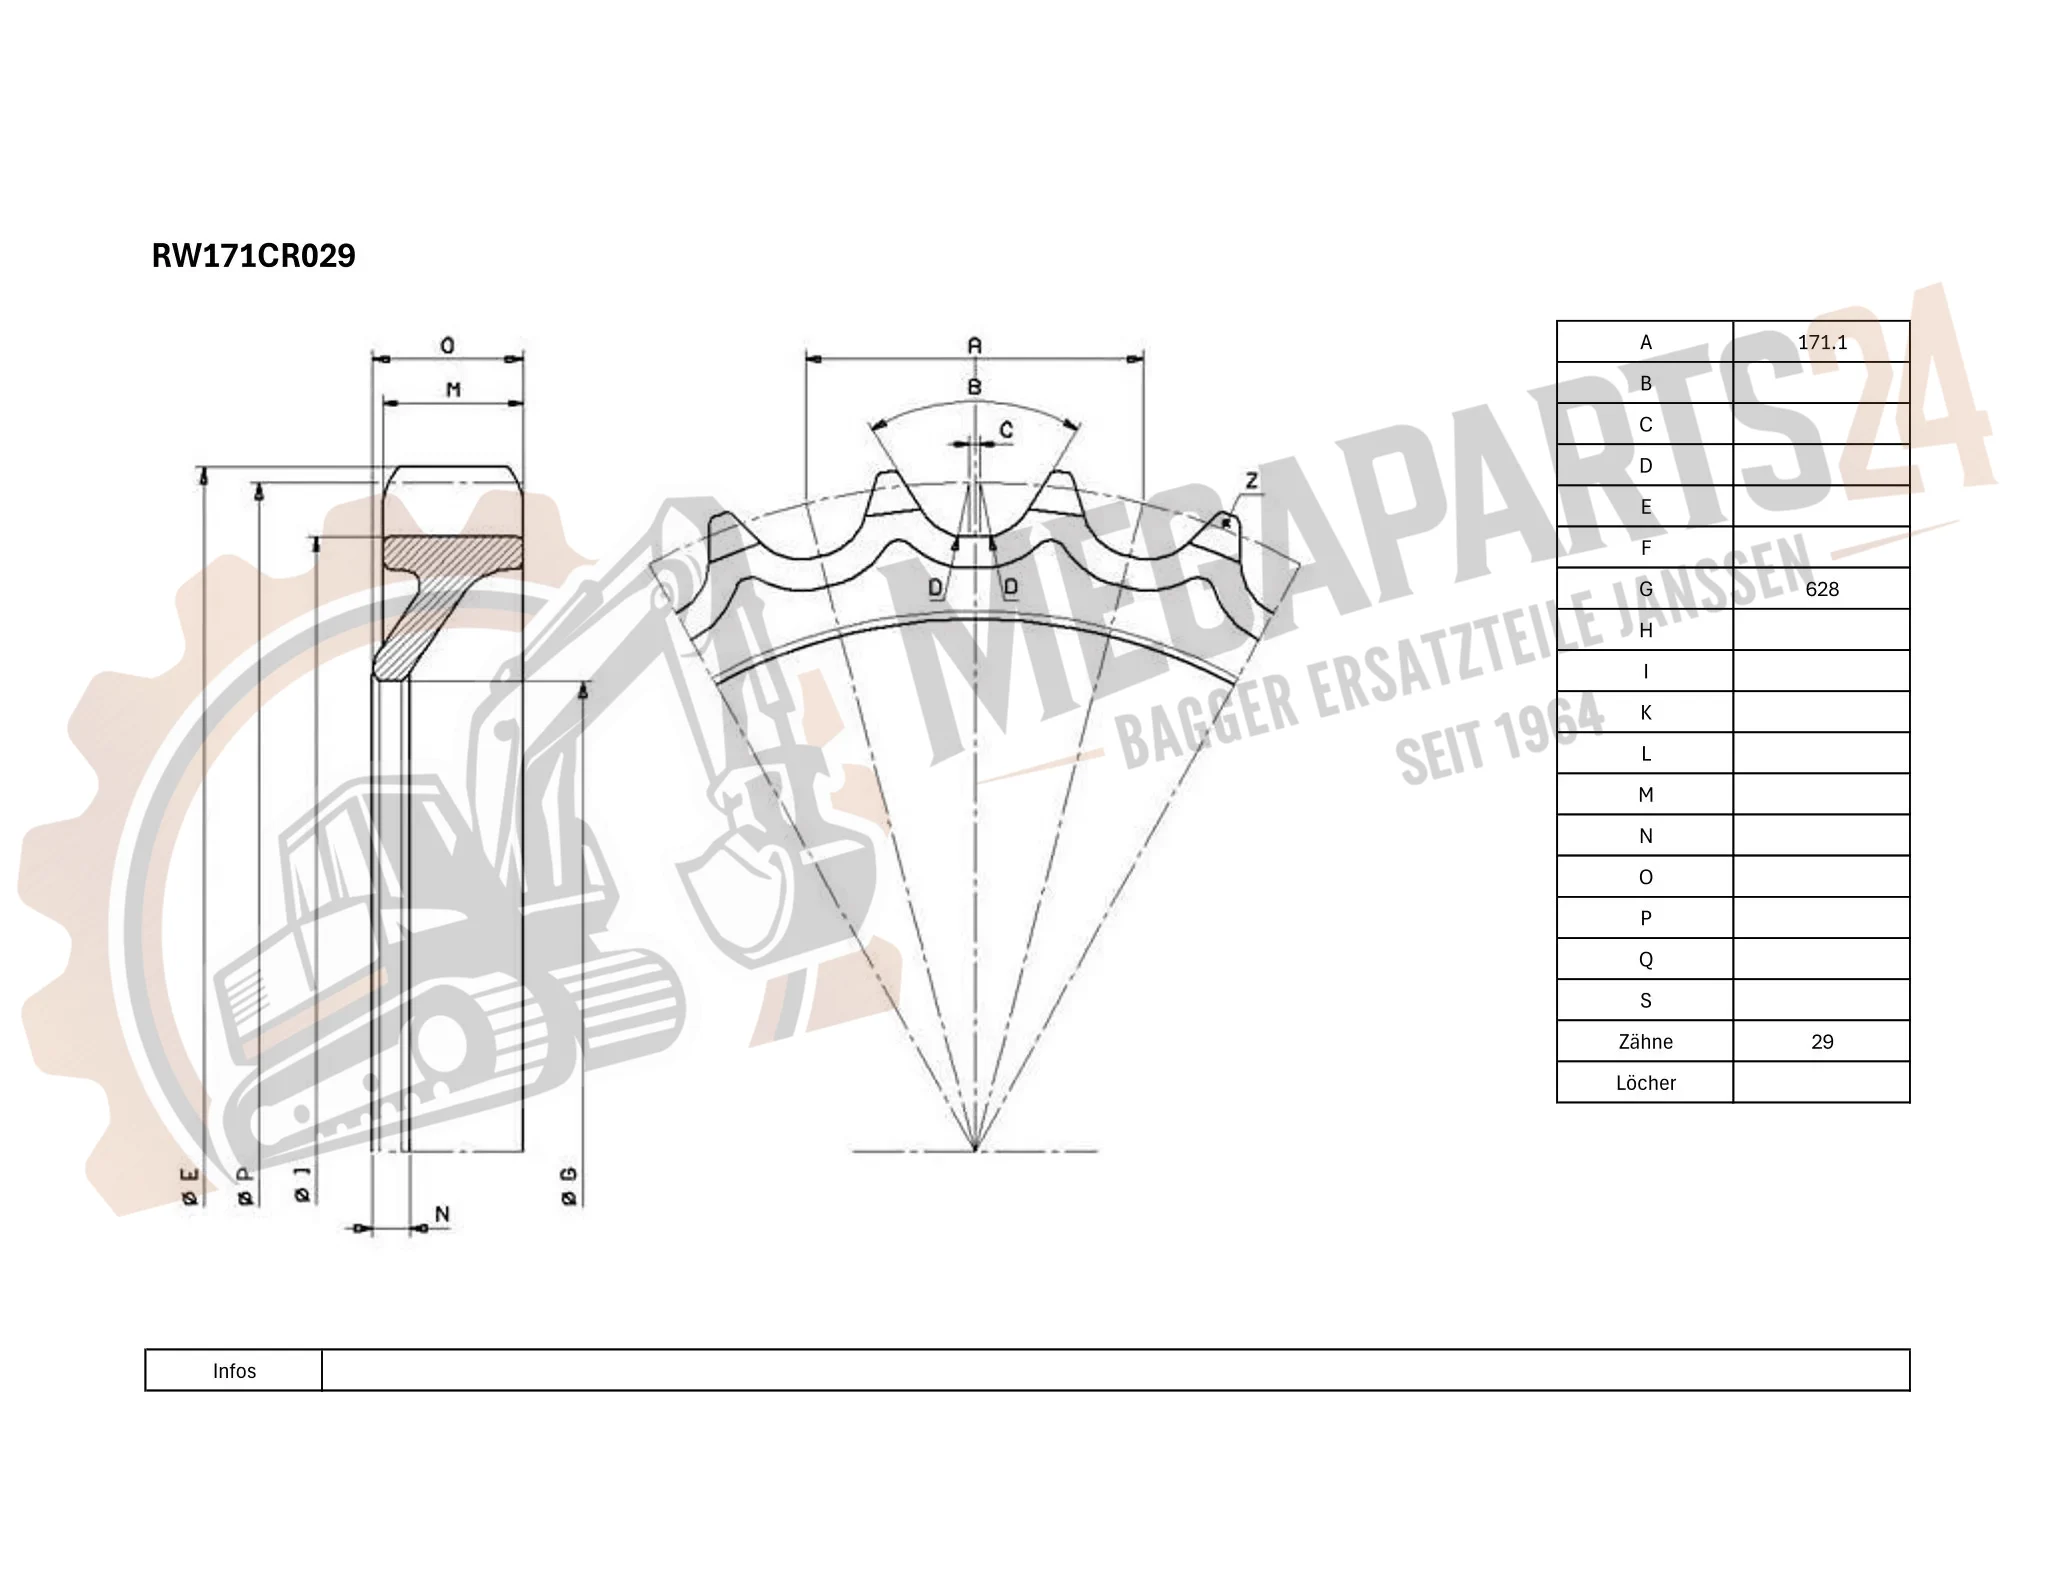
Only a selection is shown here. Enter the equipment model now and find the matching spare part
Note: to determine which spare part fits you always need the equipment model.
No products found
Sprockets, weld-on rims and sprocket segments are designed to be fitted on most travel motors (final drives) of bulldozers, excavators, dumpers,… Typical hardnesses after induction hardening are :
- Surface : HRC55
- Case depth: HRC45 from 3 to 7mm, according to size
- Core: HB210


Bolt-on sprockets
Weld-on sprocket rims
In some circumstances, certain bolt-on sprockets are not available (anymore). This may occur in the following situations:
- The sprocket in particular came from an old machine whose parts production is no longer supported.
- The sprocket comes from a machine of which only a very limited number have been released: a minimum quantity is needed to produce new bolt-on sprockets.
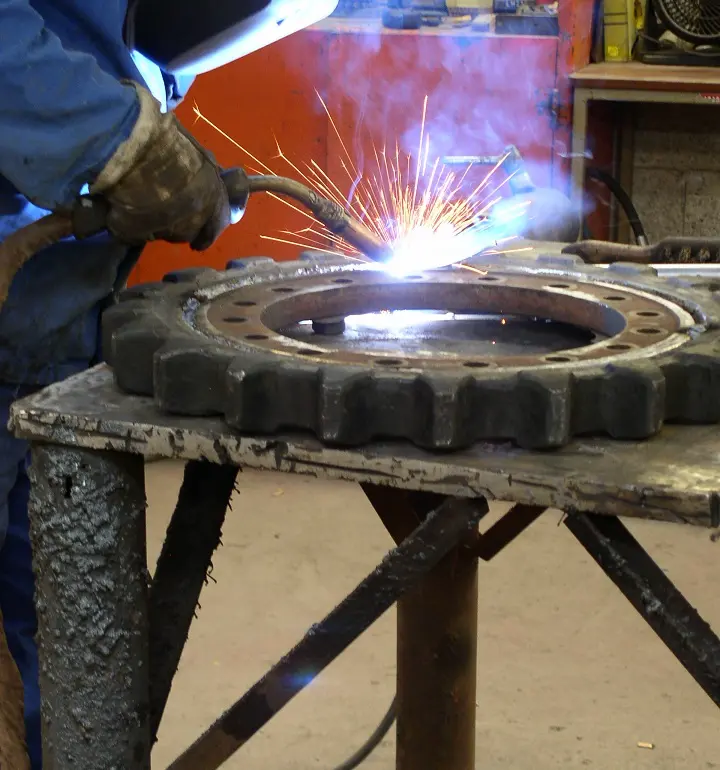
As soon as sprockets are difficult to obtain, in such cases one can still renew a worn sprocket, thanks to the use of a weld-on rim. In this process, the sprocket-hub of the old sprocket is detached from the worn toothing. Then the old hub is welded to a new toothing (the weld-on rim).


Sprocket segments and segment groups
On most bulldozers and dumpers, the sprocket wheel is not a single unit but is composed of several shorter pieces or segments. One segment usually has 3 to 6 teeth. A segment group is composed of a few segments, sufficient to provide 1 side of the machine with a complete sprocket. For example: On the final drive of a Caterpillar D6N LGP, one can find sprockets with 25 teeth. Each segment has 5 teeth. A segment group is then supplied consisting of 5 segments.
How do I know if my sprockets are worn out ?
On a new sprocket, the tops of the teeth have a certain thickness. The top of the teeth may be 10 to 20 mm thick. On mini excavators, this can be a little less. On a worn sprocket, the teeth have become much thinner sometimes up to 1 mm.